Creating the perfect meringue can seem like a daunting task, but with the right tools and techniques, it’s simpler than you think. Using a stand mixer takes the guesswork out of the process, ensuring consistently fluffy, glossy peaks. Whether you’re crafting a pavlova, macarons, or the topping for a lemon meringue pie, mastering this skill is a must for any home baker. Not to mention, exploring recipes like those on Newhouseproject can inspire you to elevate your kitchen creations.
In this guide, we’ll break down every step of making meringue with a stand mixer and troubleshoot common mistakes. Plus, we’ll weave in essential tips, such as how to clean cutlery with bicarbonate of soda (a trick for tidying up post-baking messes).
Understanding Meringue Basics
Before diving into the process, it’s vital to understand the key components of a meringue. Made from just two ingredients—egg whites and sugar—meringue relies on precision and technique for its characteristic texture.
Types of Meringue
- French Meringue: The simplest to make, this raw mixture is ideal for baking into cookies or pavlova.
- Swiss Meringue: Made by heating sugar and egg whites over a double boiler, it’s stable and silky, perfect for frosting.
- Italian Meringue: Sugar syrup is whipped into egg whites, creating the most stable and glossy finish.
Each type has its purpose, but this guide focuses on French meringue, as it’s the foundation for many recipes and a great starting point.
Ingredients Matter
To create perfect meringue, your ingredients must be of the highest quality.
- Egg Whites: Fresh, room-temperature egg whites whip more easily and produce better volume.
- Sugar: Fine granulated or caster sugar dissolves quickly, yielding a smooth texture. Avoid coarse sugars to prevent graininess.
- Optional Additives: A pinch of cream of tartar or lemon juice stabilizes the meringue and enhances its glossiness.
If you’re curious about more techniques, click on https://newhouseproject.com/kitchen-and-cooking/how-to-clean-stainless-steel-cutlery-with-baking-soda/ for insights into maintaining a pristine kitchen environment.
Step-by-Step: How to Make Perfect Meringue With a Stand Mixer
Prepare Your Equipment
Cleanliness is critical when making meringue. Even a trace of grease or moisture in your bowl or whisk attachment can prevent your egg whites from whipping. Wash everything thoroughly, and wipe with vinegar or lemon juice for extra assurance.
Separate Egg Whites Carefully
Separate the whites from the yolks while the eggs are cold for greater control. A single drop of yolk can sabotage your meringue, so work carefully.
Start Mixing on Low
Place your egg whites in the stand mixer bowl and start at a low speed. Gradually increase to medium until the mixture becomes foamy. This allows air to incorporate slowly, building a stable structure.
Add Sugar Gradually
Once soft peaks form, begin adding sugar one tablespoon at a time. This ensures the sugar dissolves fully, preventing a gritty texture.
Whip to Stiff Peaks
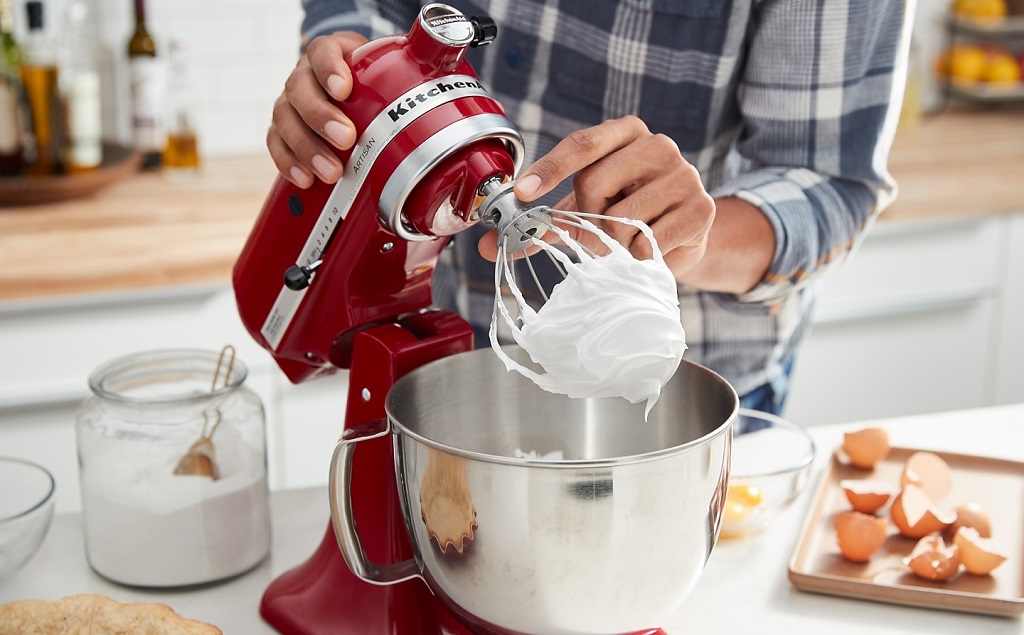
Increase the speed to high, watching for stiff, glossy peaks. To test, lift the whisk; the meringue should hold its shape firmly without drooping. Avoid over-whipping, as this can break down the structure.
Read More Also: How Do Hidden Motion Sensor Options Solve Unusual Home Automation Needs?
Pro Tips for Perfect Meringue Every Time
Temperature Control
Room-temperature egg whites whip faster and reach higher volumes. Plan ahead to remove eggs from the fridge at least 30 minutes before starting.
Sugar Dissolution
To test if your sugar is fully dissolved, rub a small amount of meringue between your fingers. If it feels gritty, continue whisking.
Humidity’s Impact
Meringue is highly sensitive to moisture. Avoid making it on humid days or in steamy kitchens, as this can affect its stability and texture.
Using the Right Stand Mixer Attachments
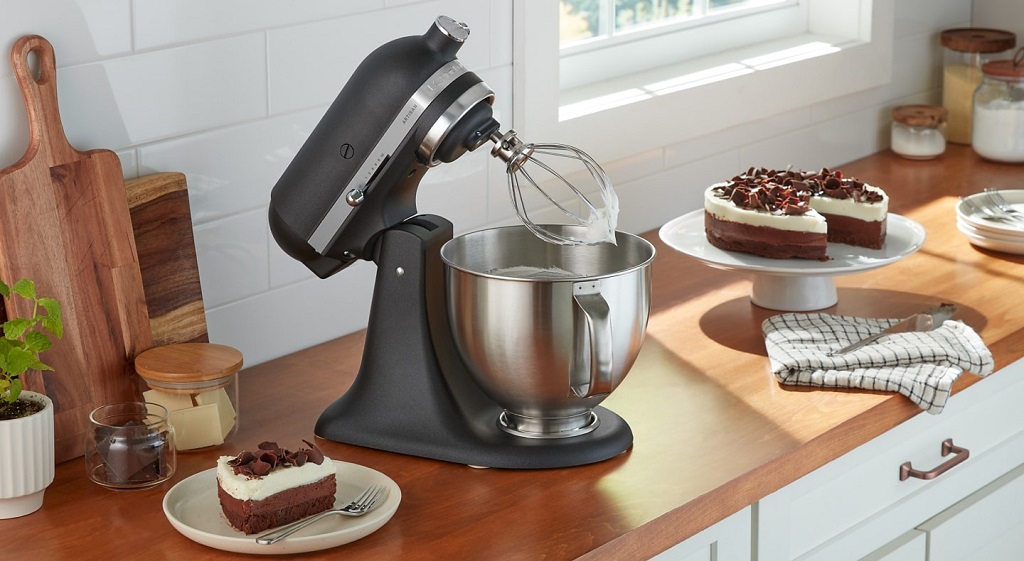
Opt for the wire whisk attachment for maximum aeration. A paddle or dough hook won’t yield the desired results.
Common Meringue Mistakes and How to Fix Them
Egg Whites Won’t Whip
This issue often stems from grease or water contamination. Clean your tools thoroughly and start over with fresh egg whites.
Grainy Texture
Graininess occurs when sugar isn’t fully dissolved. Use caster sugar and incorporate it slowly.
Weeping or Beading
Meringue that weeps or develops sugar beads indicates overbaking or excessive humidity. Bake at a lower temperature and avoid moisture exposure.
Creative Ways to Use Meringue
Meringue is as versatile as it is delicious. Here are some ideas:
- Desserts: From pavlova to Eton mess, meringue adds elegance and texture.
- Frostings: Swiss or Italian meringue frosting elevates cakes and cupcakes.
- Cookies: Pipe into shapes and bake for light, airy cookies.
- Toppings: Use for pies or baked Alaska for a show-stopping presentation.
Cleaning Up After Meringue
After whipping up your meringue masterpiece, cleaning your tools can be tricky due to sticky sugar residues. For an effective solution, learn to clean cutlery with bicarbonate of soda for mess-free baking sessions.
FAQs
What’s the best stand mixer for making meringue?
Look for a stand mixer with a powerful motor (at least 300 watts) and a wire whisk attachment for optimal aeration.
Can I use egg whites from a carton?
While fresh eggs are preferred, pasteurized egg whites can work in some recipes. However, they may whip less effectively.
Why does my meringue collapse?
Collapsing often results from over-whipping, insufficient sugar, or baking at an incorrect temperature.
How can I add flavor to meringue?
Incorporate vanilla extract, citrus zest, or a few drops of flavored essence during the final stages of whipping.
Can I fix over-whipped meringue?
Over-whipped meringue often looks clumpy. Adding a fresh egg white and gently folding can sometimes salvage it.
Can I store meringue?
Unbaked meringue should be used immediately. Baked meringues can be stored in an airtight container for up to two weeks.
Conclusion
Making the perfect meringue with a stand mixer is a rewarding process that combines technique, precision, and creativity. Armed with these expert tips, you’re well on your way to achieving fluffy, glossy perfection every time. Remember to experiment and enjoy the process—after all, baking is as much about the journey as the result.

