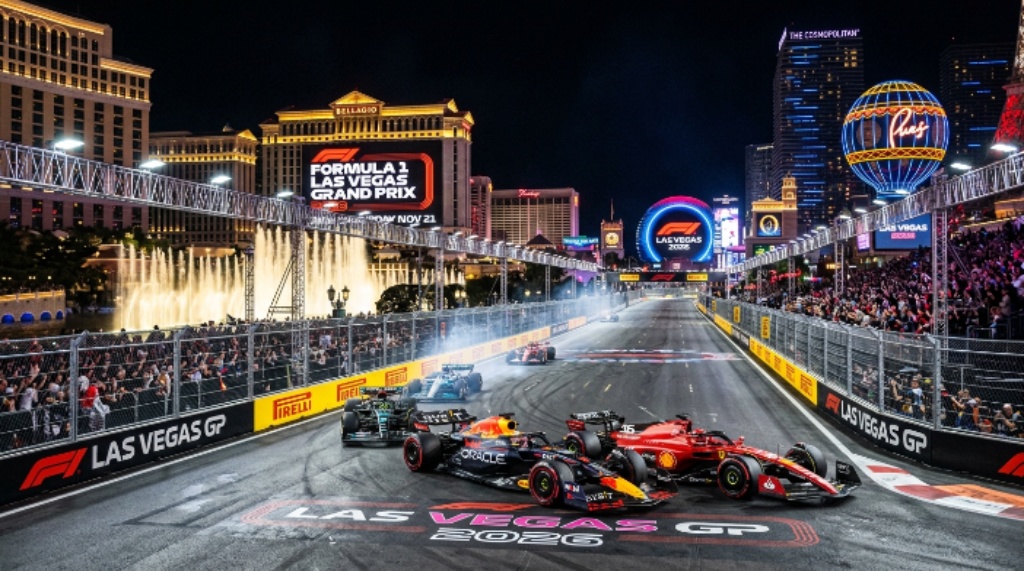
Las Vegas Formula 1 Grand Prix Week 2026: Best Events, Parties and Race Weekend Guide
Las Vegas does not do anything quietly. When Formula 1 rolls into town for the fourth time, the city pulls out every trick it has.…
It differentiates the brand
Las Vegas does not do anything quietly. When Formula 1 rolls into town for the fourth time, the city pulls out every trick it has.…
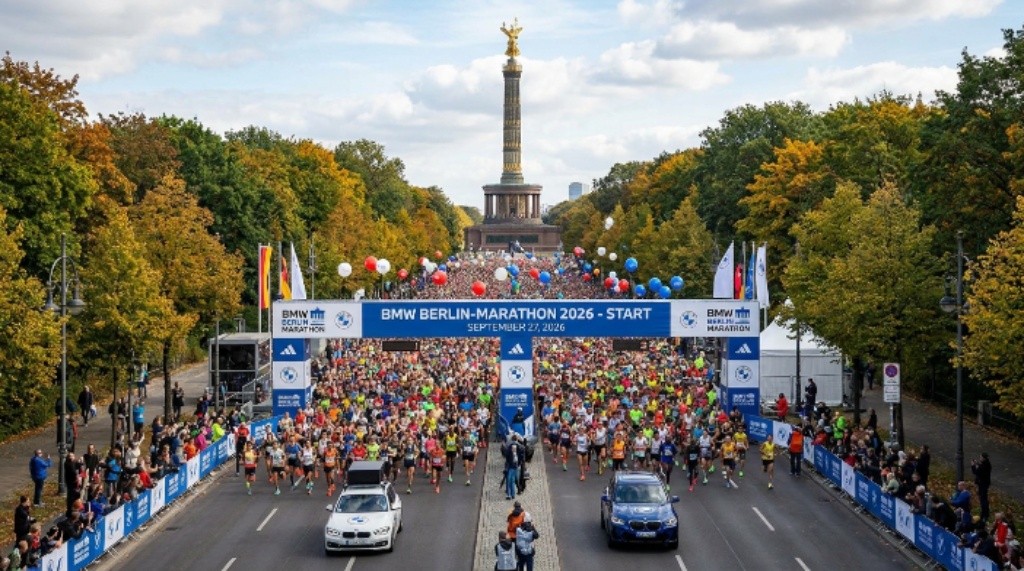
Every September, Berlin transforms into the fastest city on earth. Tens of thousands of runners pour through the streets, past some of Europe’s most iconic…
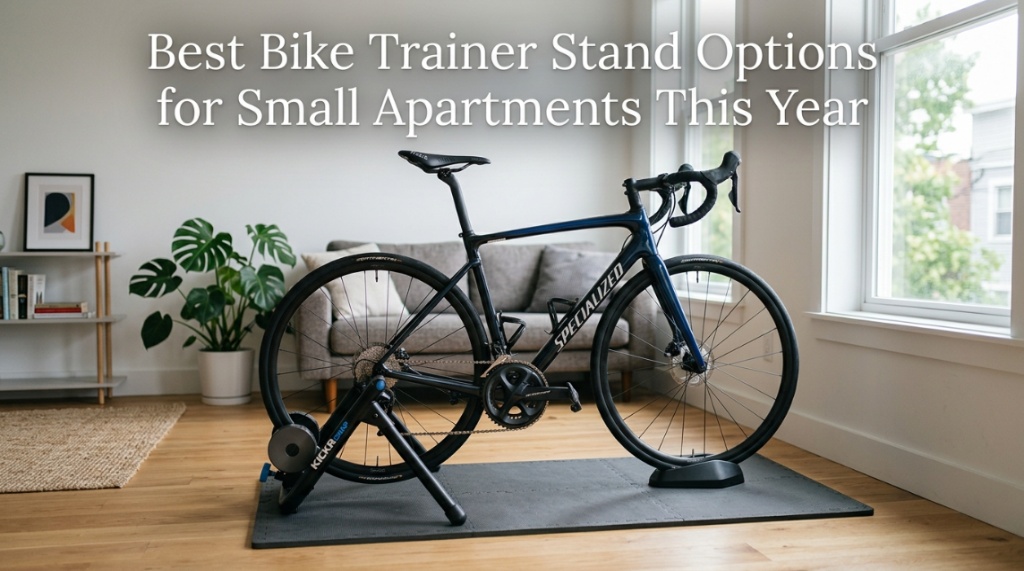
My first apartment measured 480 square feet — kitchen, bedroom, and living room all visible from the front door. When I decided to train indoors,…
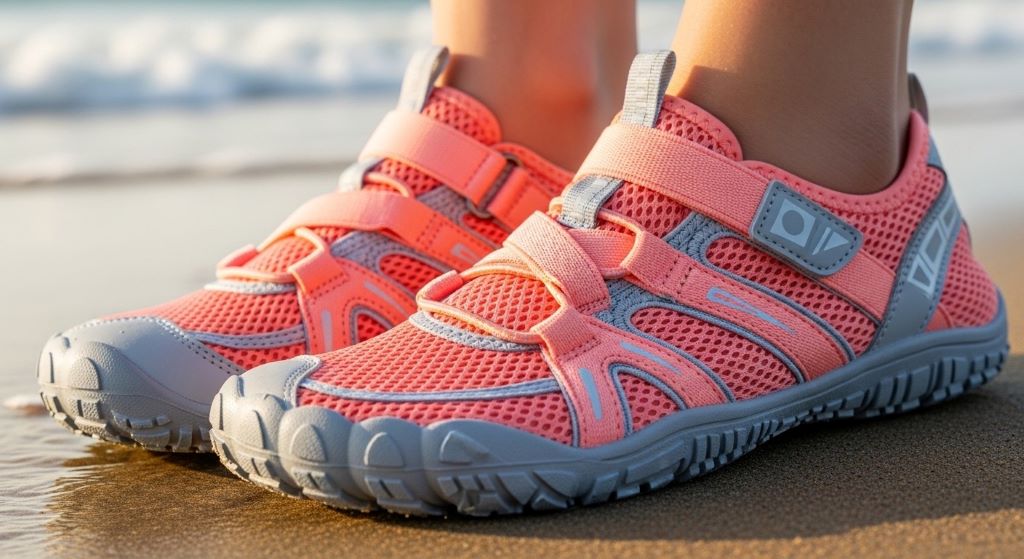
Walking barefoot on the beach sounds romantic until you step on a sharp shell, hot sand, or hidden rocks. Beach water shoes have become essential…
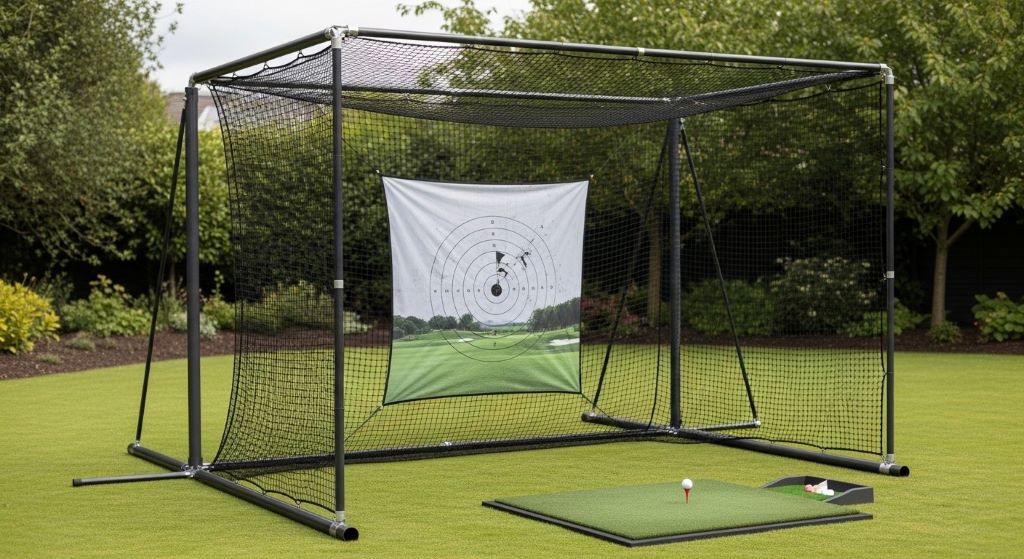
Practicing golf at home has become increasingly popular among players who want to improve their game without constantly visiting the driving range. A quality golf…
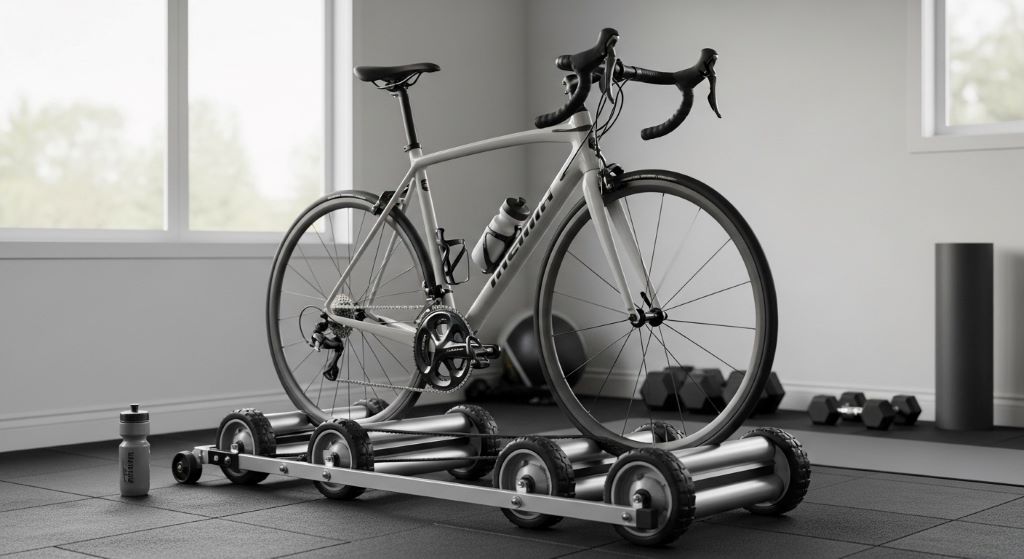
Building a home gym requires careful thought about space, budget, and your fitness goals. Among the various options available, bike rollers offer a unique way…
Introducing children to golf can be one of the most rewarding decisions a parent makes. However, selecting the right equipment requires careful consideration. The market…
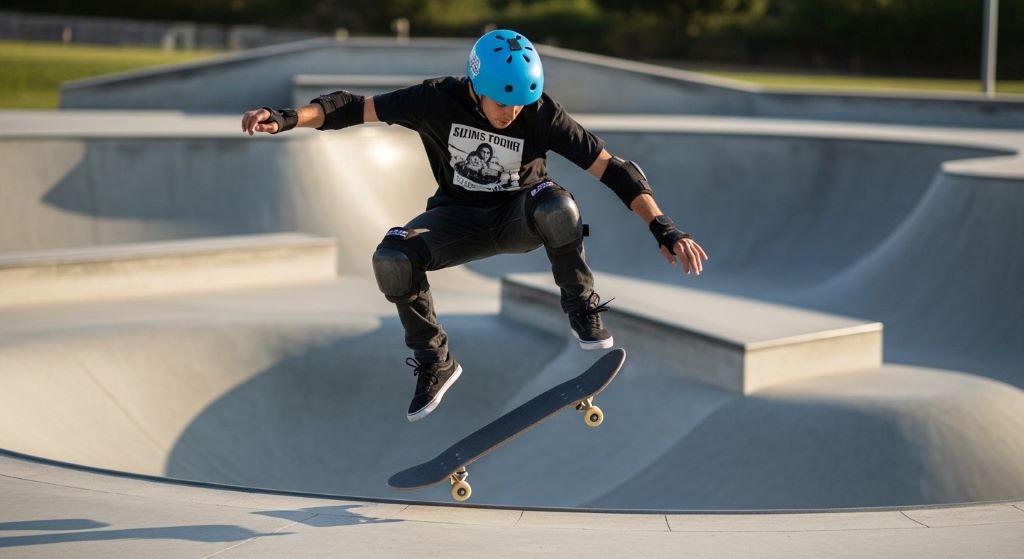
Every skater remembers their first fall. The scrape of pavement, the shock of impact, and that split second of wondering if you’ll be okay. For…
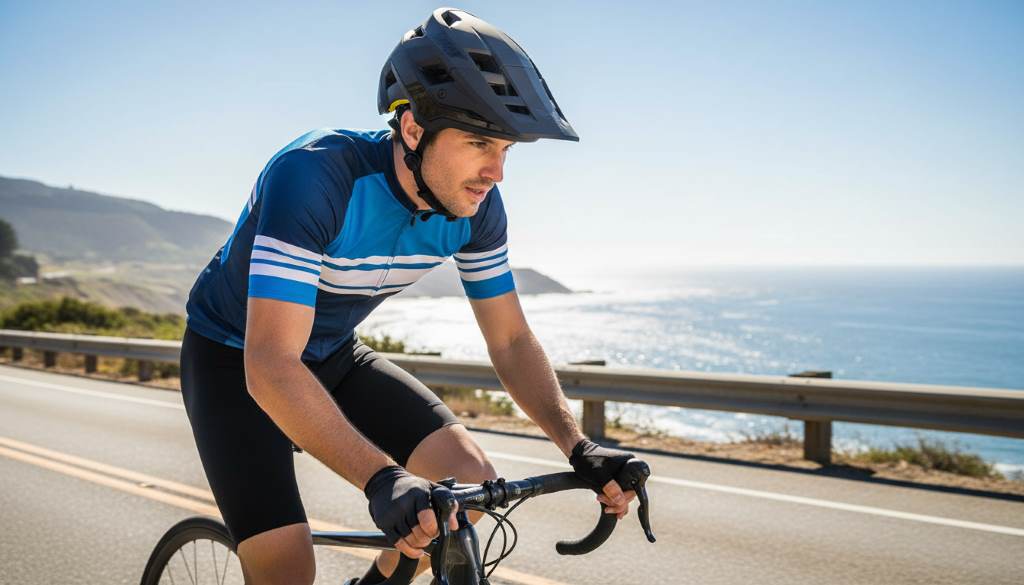
Every cyclist faces risks on the road or trail. A single fall can change everything. Helmets save lives and prevent serious injuries. According to the…
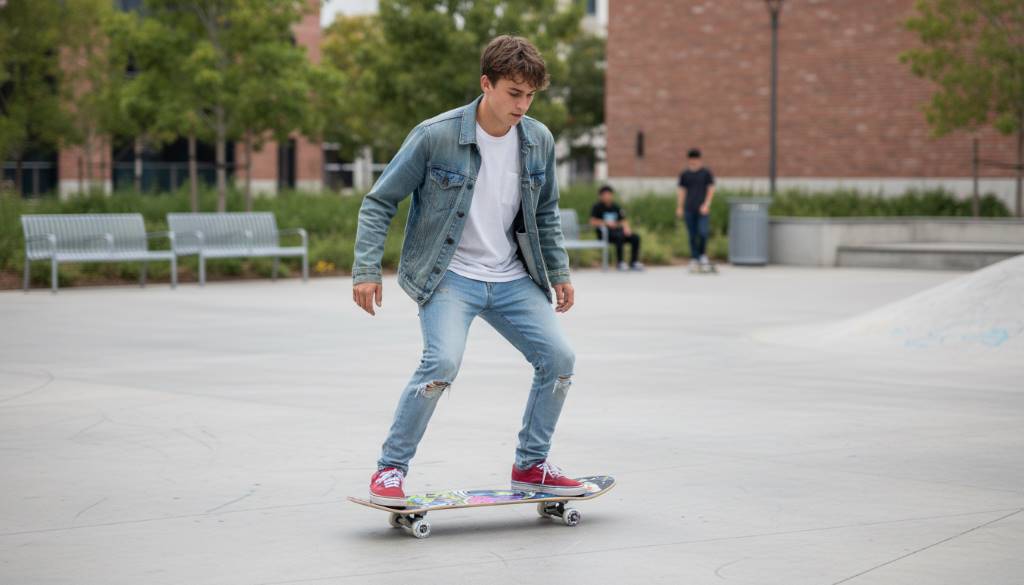
Skateboarding feels like pure freedom the moment your feet hit the deck. You push off, balance, and suddenly the world moves differently. Yet many new…