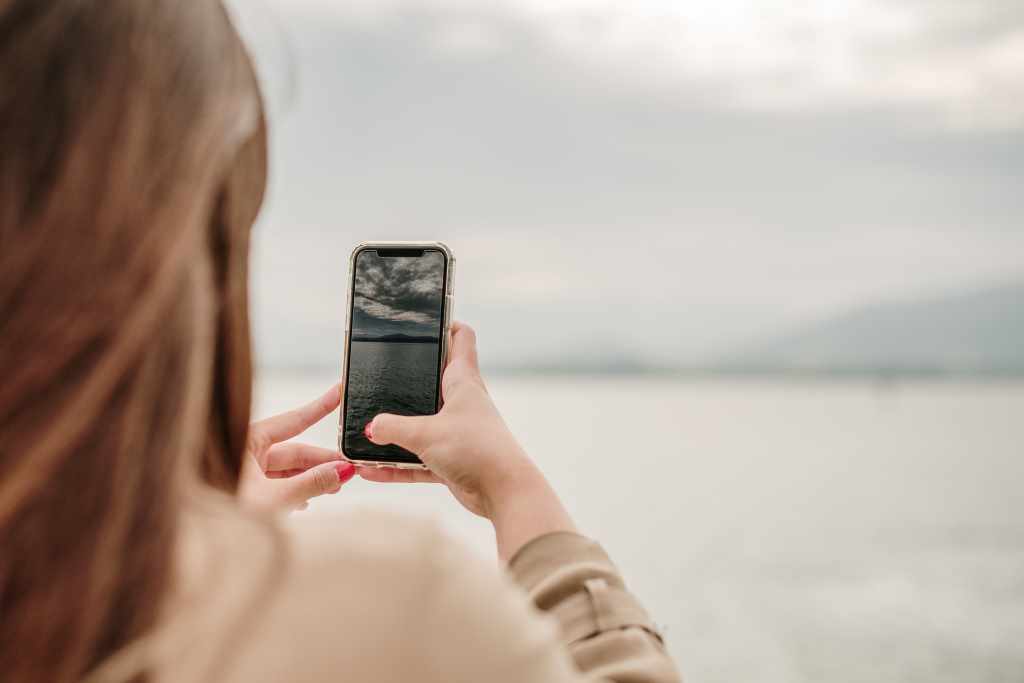
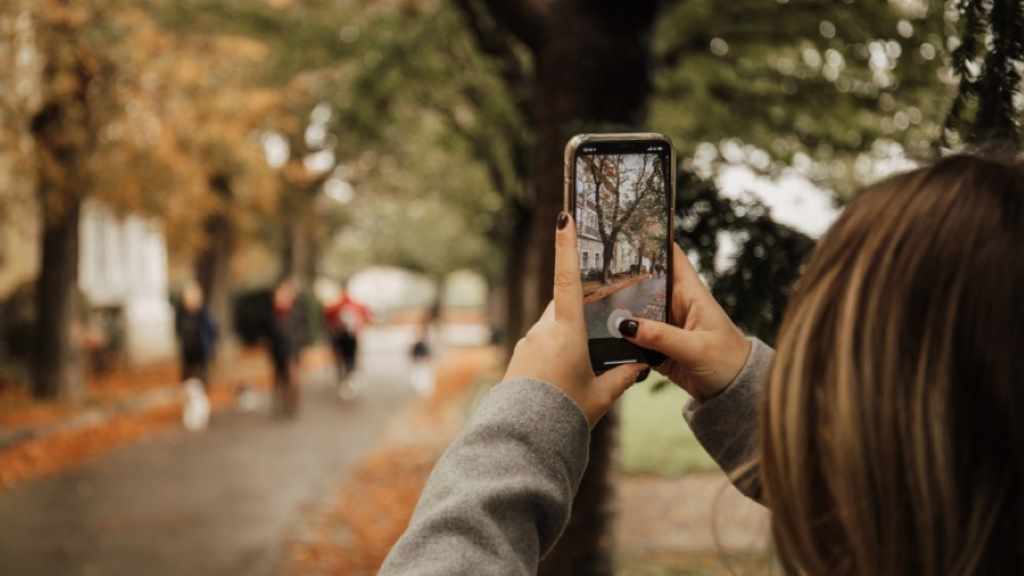
In today’s visually-driven world, capturing and sharing high-quality images has become second nature to many of us. And while professional cameras continue to reign supreme, smartphones, especially Android devices, have made significant strides in photography capabilities. In this guide, we’ll explore how to take better pictures with your android to take stunning photos that impress.
1. Master the Basics
Before diving into advanced techniques, it’s crucial to have a solid grasp of the fundamentals:
- Clean the Lens: It might seem obvious, but a smudged lens can significantly impact image quality. Use a microfiber cloth to gently clean the lens before shooting.
- Hold Steady: Camera shake is a common culprit behind blurry photos. Hold your phone with both hands, keep your elbows close to your body, and use a tripod if possible, especially in low light.
- Focus: Most Android phones have autofocus, but you can also tap on the screen to select a specific focus point. This is especially useful when shooting portraits or close-ups.
- Lighting: Good lighting is essential for great photos. Natural light is generally preferable, but avoid harsh midday sun. If shooting indoors, try to find a well-lit spot or use artificial lighting.
2. Explore Your Camera App’s Features
Your Android phone’s camera app is packed with features that can help you take better photos:
- HDR: HDR (High Dynamic Range) mode captures multiple exposures and combines them to create a single image with a wider range of tones. This is helpful in scenes with high contrast, such as landscapes with bright skies and dark shadows.
- Portrait Mode: This mode creates a shallow depth of field effect, blurring the background and focusing attention on the subject. It’s great for portraits and close-ups.
- Night Mode: This mode uses advanced algorithms to capture brighter and clearer photos in low light conditions. It’s ideal for capturing cityscapes at night or dimly lit interiors.
- Pro Mode: If you want more control over your camera settings, switch to Pro Mode. This allows you to adjust settings like ISO, shutter speed, and white balance, especially if you’re facing issues with on stream not working on Android.
3. Composition is Key
Even with the best camera and lighting, a poorly composed photo will fall flat. Consider these composition techniques:
- Rule of Thirds: Imagine dividing your frame into nine equal parts with two horizontal and two vertical lines. Place your subject along these lines or at their intersections to create a more balanced and visually pleasing composition.
- Leading Lines: Use natural lines in your scene, such as roads, rivers, or fences, to lead the viewer’s eye toward your subject.
- Framing: Use elements in your scene, such as doorways, windows, or trees, to frame your subject and draw attention to it.
- Symmetry: Look for symmetrical elements in your scene, such as buildings or reflections, to create a sense of harmony and balance.
Read Also: How to Choose the Best Podcast Cover Art
4. Experiment with Different Angles and Perspectives
Don’t be afraid to get creative with your camera angles and perspectives:
- Get Low: Shoot from a low angle to make your subject appear larger and more imposing. This is especially effective when photographing children or pets.
- Get High: Shoot from a high angle to get a bird’s-eye view of your scene. This can be helpful for capturing landscapes or crowds.
- Get Close: Get close to your subject to capture details and emotions. This is especially effective for portraits and macro photography.
5. Edit Your Photos
Editing can significantly enhance your photos. There are many photo editing apps available for Android, including:
- Snapseed: A powerful and versatile photo editor with a wide range of tools and filters.
- VSCO: A popular photo editor known for its film-inspired presets.
- Adobe Lightroom Mobile: A professional-grade photo editor with advanced features and cloud storage.
When editing, keep these tips in mind:
- Crop: Crop your photos to remove distractions and improve composition.
- Adjust Brightness and Contrast: Adjust brightness and contrast to bring out details and improve overall image quality.
- Correct Colors: Correct colors to ensure they are accurate and natural.
- Sharpen: Sharpen your photos to enhance details and make them appear crisper.
- Add Filters: Add filters to create a specific mood or style.
6. Practice Makes Perfect
The more you practice, the better you’ll become at taking photos with your Android phone. Don’t be afraid to experiment with different techniques and settings. And most importantly, have fun!
Additional Tips
- Use the Volume Buttons as a Shutter: This can help you avoid camera shake.
- Shoot in RAW: RAW files contain more image data than JPEGs, giving you more flexibility when editing.
- Use a Tripod: A tripod will help you avoid camera shake and capture sharper photos, especially in low light.
- Clean Your Lens Regularly: A clean lens is essential for sharp photos.
- Experiment with Different Apps: There are many great camera apps available for Android. Try a few to see which one you like best.
- Back Up Your Photos: Back up your photos to the cloud or an external hard drive to avoid losing them.
By following these tips and practicing regularly on how to take better pictures with your android, you can take stunning photos with your Android phone that you’ll be proud to share. Remember, the best camera is the one you have with you, so don’t hesitate to capture those special moments whenever they arise.


