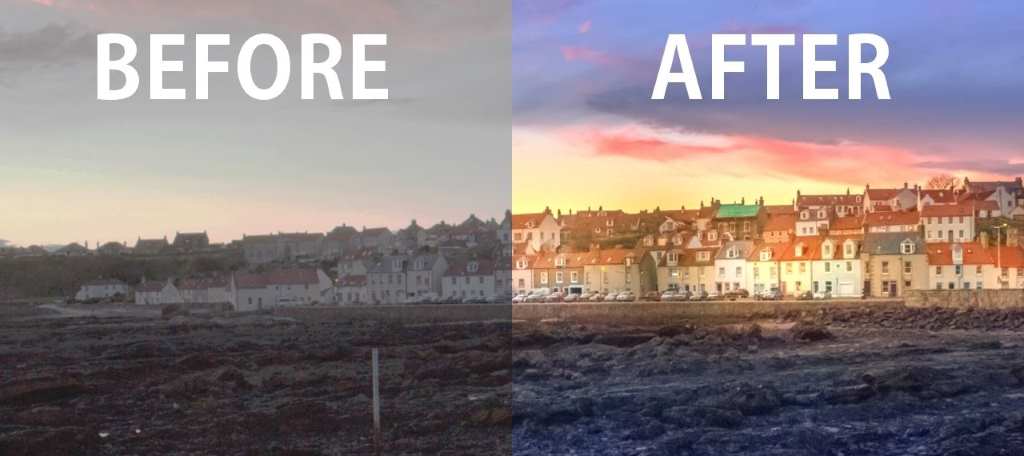
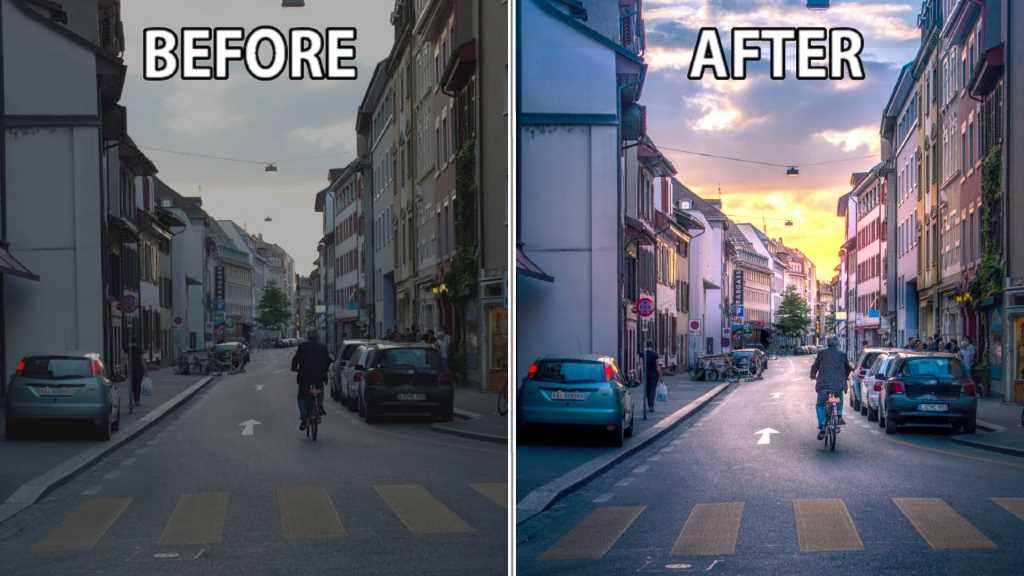
Landscape photography has the power to transport viewers to majestic mountains, serene seashores, or vibrant meadows. Yet, capturing the essence of a scene often requires more than just pointing and shooting. Even with the most stunning location, your raw photo might lack the impact you envisioned. This is where the magic of editing comes in. By mastering a few key techniques, you can transform your bland landscapes pop photos into grand masterpieces that truly capture the beauty of nature.
1. The Foundation: Shooting in RAW
Before diving into editing, set yourself up for success by shooting in RAW format. Unlike JPEGs, RAW files retain all the data captured by your camera’s sensor, giving you far more flexibility during editing. Think of a RAW file as a digital negative—a treasure trove of information waiting to be developed.
2. Basic Adjustments: Leveling the Playing Field
Start with the basics:
- White Balance: Ensure accurate colors by adjusting the white balance. A cloudy day might cast a blue hue, while sunrise or sunset could introduce warm tones.
- Exposure: Fine-tune the brightness to avoid overly dark or washed-out images.
- Contrast: Enhance the difference between the lightest and darkest parts of your image for added depth.
3. The Art of Dodging and Burning
Dodging and burning are techniques borrowed from traditional darkroom practices.
- Dodging: Lightens specific areas to emphasize details. Use it to brighten a dull sky or draw attention to a focal point.
- Burning: Darkens areas to add drama and contrast. It can make a majestic mountain peak appear more imposing or deepen the shadows in a forest.
These tools allow you to sculpt light and shadow, much like a painter with a brush.
4. HSL (Hue, Saturation, Luminance): Painting with Light
HSL adjustments give you precise control over individual colors.
- Hue: Change the color itself. Transform a lackluster green meadow into a vibrant field of gold.
- Saturation: Adjust the intensity of the color. Make a fiery sunset even more dramatic or tone down an overly bright sky.
- Luminance: Control the brightness of a specific color. Bring out the details in a dark mountain range or soften the glare of the sun on water.
5. Graduated Filters: Balancing Earth and Sky
In landscape photography, it’s common for the sky to be much brighter than the land. Graduated filters, either in physical form (placed in front of your lens) or digital form (applied during editing), allow you to darken the sky without affecting the land. This can create a more balanced and visually appealing image.
6. Sharpening and Noise Reduction: The Finishing Touches
Sharpening enhances details, making your image crisp and clear. However, be careful not to overdo it, as excessive sharpening can introduce unwanted artifacts.
Noise reduction helps to minimize the grainy appearance that can occur in low-light situations or when shooting at high ISO settings. Balance noise reduction to retain detail while eliminating distracting grain.
7. Creative Choices: Embracing Your Artistic Vision
- Cropping: Experiment with different crops to find the most impactful composition.
- Vignettes: Subtly darken the edges of your image to draw the viewer’s eye towards the center.
- Split Toning: Apply different colors to the highlights and shadows for a unique and artistic look.
Remember, editing is a form of personal expression. There are no right or wrong choices, only opportunities to create images that reflect your unique vision.
The Grand Reveal
Editing is the bridge between a good photo and a great one. It’s a chance to breathe life into your landscapes, to evoke emotions, and to share your perspective on the world. By mastering these editing secrets, you’ll unlock the full potential of your landscapes pop photography and create images that truly leave lasting impressions.