Painting is one of the simplest ways to refresh and transform a space. However, improper preparation can lead to the frustrating phenomenon of paint bubbles and blisters. These unsightly blemishes mar the surface and undermine the durability of your work. But what exactly causes paint bubbles and blisters when walls aren’t prepped correctly? Let’s dive into the causes, solutions, and preventative measures for this common painting problem.
When it comes to ensuring flawless walls, trust experts who understand the importance of preparation, like those at explore Vincentjameshomes. They emphasize that careful planning is the key to lasting results.
What Are Paint Bubbles and Blisters?
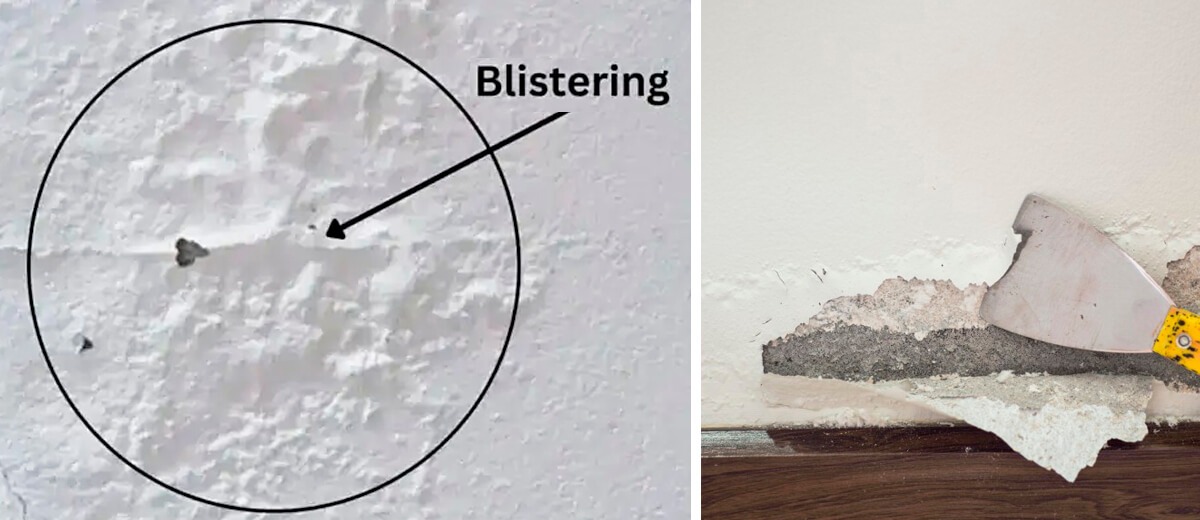
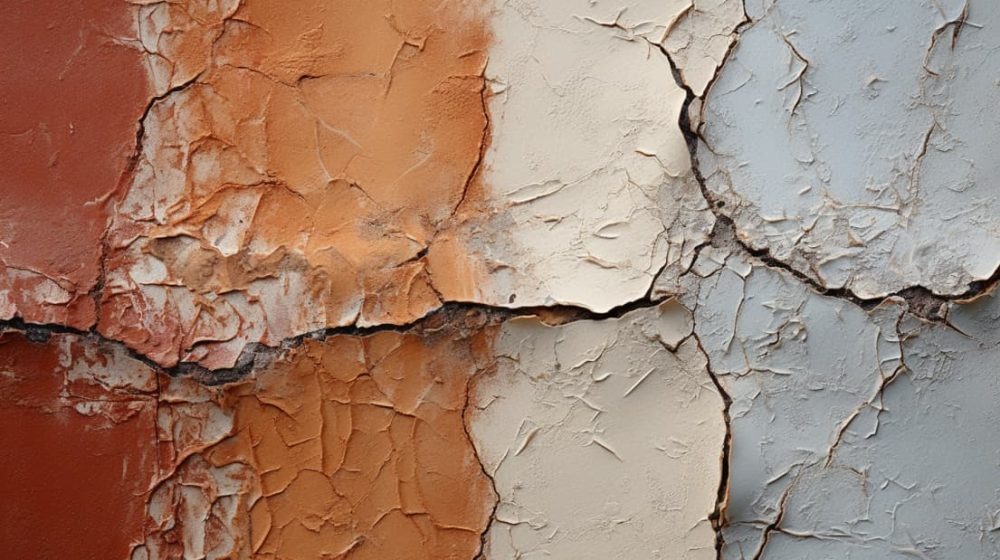
Paint bubbles and blisters occur when the paint film lifts away from the surface underneath. They can form immediately after painting or days later. Blisters typically indicate air, moisture, or contamination trapped beneath the paint layer, causing it to separate from the surface.
Why Do Walls Need Proper Preparation Before Painting?
Proper preparation lays the foundation for a smooth and durable finish. It ensures that paint adheres well, resists wear, and lasts for years. When walls aren’t prepped correctly, imperfections like dirt, grease, or old paint layers interfere with the bond between the paint and the wall, leading to blistering and bubbling.
Additionally, while enhancing your home, you might wonder how long does composite decking last. For detailed insights, click on https://vincentjameshomes.com/home-maintenance/how-long-does-composite-decking-last/ to discover the longevity of composite decking materials and proper maintenance tips.
Key Causes of Paint Bubbles and Blisters
- Dirty or Contaminated Surfaces
Walls covered in dust, grease, or grime prevent proper paint adhesion. When a dirty surface interacts with the paint, the lack of bonding leads to bubbling. Cleaning walls with a mild detergent solution and rinsing thoroughly before painting is crucial. - Moisture Issues
High moisture content in walls or the environment can create blistering. This is particularly common in bathrooms, kitchens, and basements. Moisture trapped beneath the paint layer tries to escape, creating bubbles.
Tip: Use a moisture meter to check wall dampness before painting. - Using the Wrong Paint for the Surface
Different paints suit different applications. For instance, latex paint doesn’t bond well over oil-based paint unless the surface is sanded and primed. Using incompatible paint can compromise adhesion. - Skipping Primer
Primer creates a smooth base and improves paint adhesion. Skipping this step can lead to surface imperfections that cause blisters. Choose primers based on the surface type and paint product. - Painting Over a Wet Surface
Applying paint on a damp or freshly cleaned wall can trap moisture under the paint. Even a small amount of water can wreak havoc, causing bubbles to appear. Always let surfaces dry thoroughly before painting. - Painting in High Humidity or Extreme Temperatures
Humidity and temperature fluctuations impact paint drying and curing. For instance, high humidity prevents the paint from setting properly, while direct sunlight can cause rapid drying, leading to blistering. Aim to paint in mild, stable weather conditions. - Applying Paint Too Thickly
Thick layers of paint take longer to dry and increase the chances of trapping air or moisture. Multiple thin coats are more effective than one thick layer.
Read More Also: How to Build an Engaged Social Media Following from Scratch
Solutions to Fix Paint Bubbles and Blisters
Assess the Damage: First, determine the severity of the bubbling. Minor issues may only affect the top layer, while severe cases could go down to the substrate.
Remove Problem Areas:
- Scrape off the bubbles and lightly sand the area until smooth.
- Clean the surface thoroughly to remove any residue.
Prime the Surface: Apply a primer to seal the surface and create a uniform base for the new paint.
Repaint Carefully: Use thin, even coats of paint, ensuring each layer dries completely before applying the next. Follow the manufacturer’s guidelines for application and drying times.
How to Prevent Paint Bubbles and Blisters
Clean Surfaces Thoroughly: Remove dirt, grease, and dust using appropriate cleaners. Rinse and dry the walls completely before painting.
Use Quality Paint and Primer: High-quality products are more durable and resistant to imperfections.
Control Environmental Factors: Avoid painting in high humidity, extreme heat, or cold. Ideal conditions are 50-85°F with moderate humidity.
Inspect for Moisture: Ensure walls are dry using a moisture meter. Address any underlying water issues, such as leaks or poor ventilation, before painting.
Follow Proper Techniques:
- Use compatible paint and primer combinations.
- Apply multiple thin coats rather than a single thick one.
The Role of Professional Expertise
If you’re unsure how to prepare walls for painting or encounter persistent issues, seeking professional help can save time and frustration. Experts like those at Vincent James Homes provide invaluable guidance on home maintenance, including addressing painting challenges.
FAQs
What causes paint bubbles and blisters?
They are caused by improper wall preparation, moisture issues, painting in high humidity, or using incompatible paint types.
How do you fix paint bubbles?
Scrape the damaged area, sand it smooth, clean thoroughly, prime, and repaint using thin layers.
Can humidity cause paint blisters?
Yes, high humidity slows drying and traps moisture beneath the paint, leading to blistering.
Why is primer essential before painting?
Primer creates a smooth base, improves paint adhesion, and prevents surface imperfections like bubbling.
How long should walls dry before painting?
Allow walls to dry for at least 24 hours after cleaning or addressing moisture issues.
Can you prevent bubbles when repainting over old paint?
Yes, by sanding the surface, applying a primer, and using thin coats of compatible paint products.
Conclusion
Bubbling and blistering paint can turn an otherwise successful project into a frustrating ordeal. Understanding the causes, from surface contamination to environmental factors, is key to avoiding these issues. With proper preparation, quality materials, and careful techniques, you can achieve a smooth, professional-looking finish that lasts for years.


