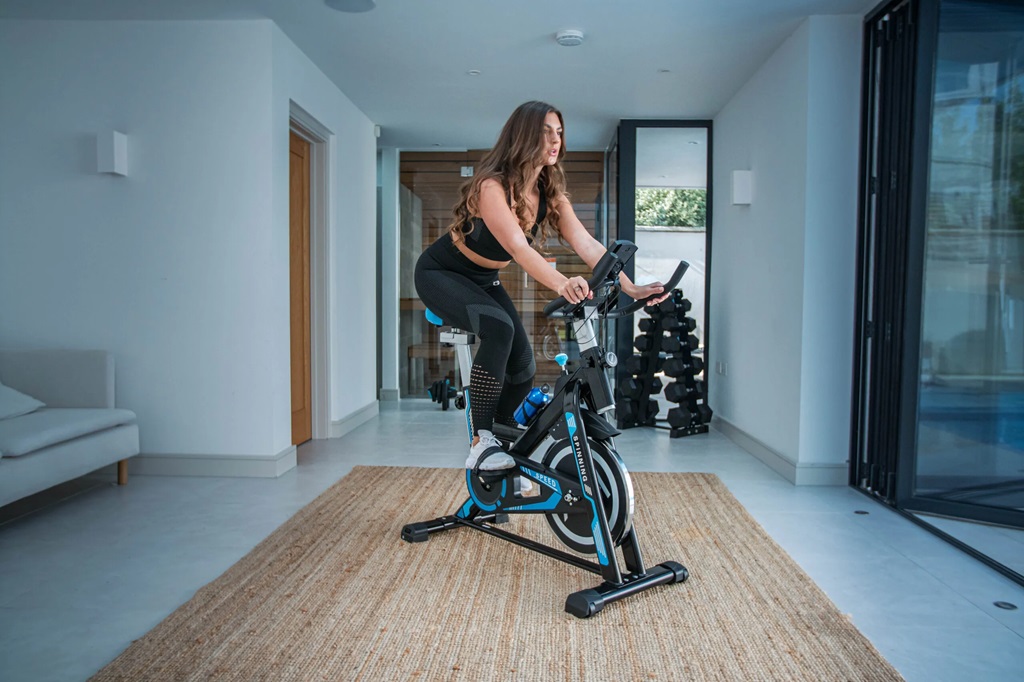
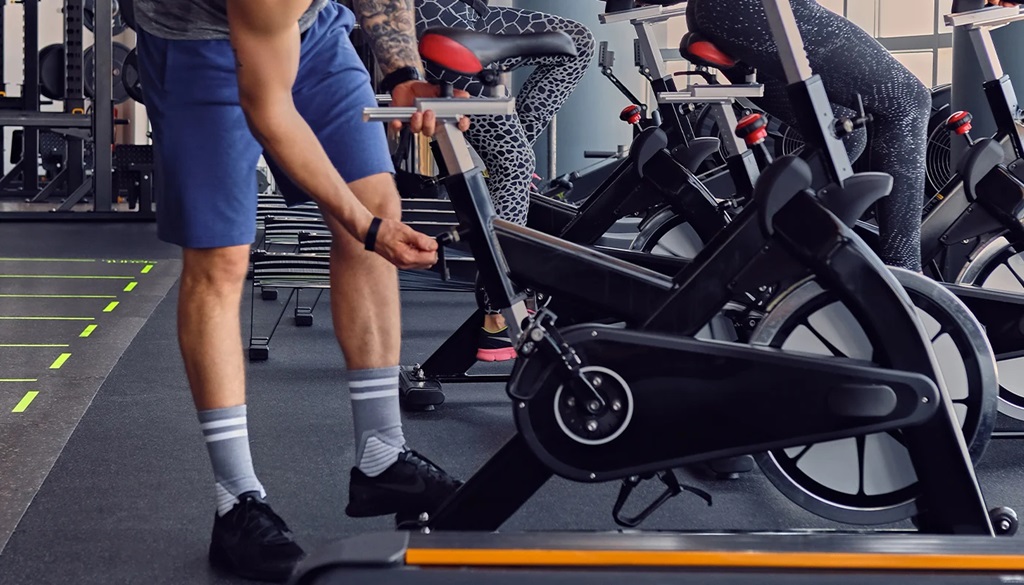
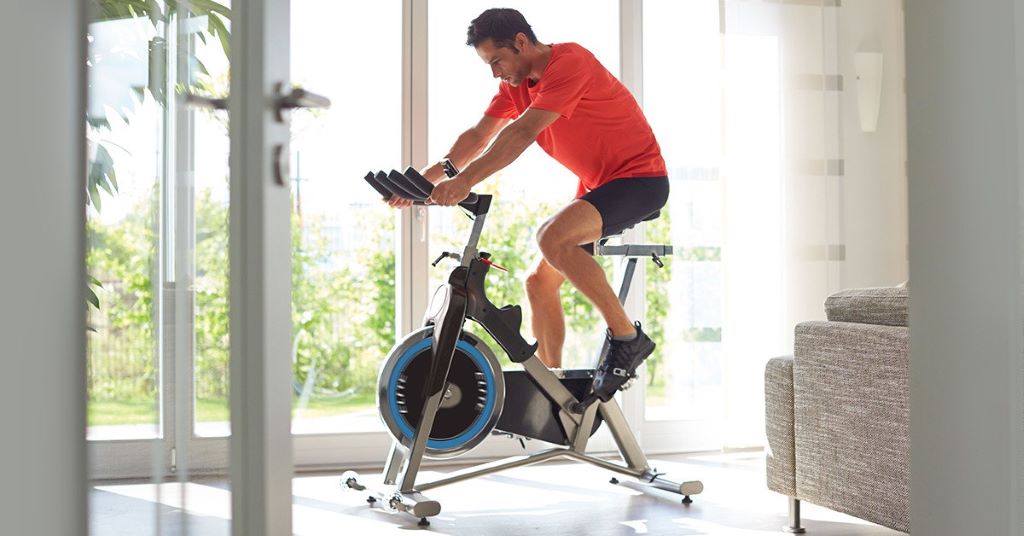
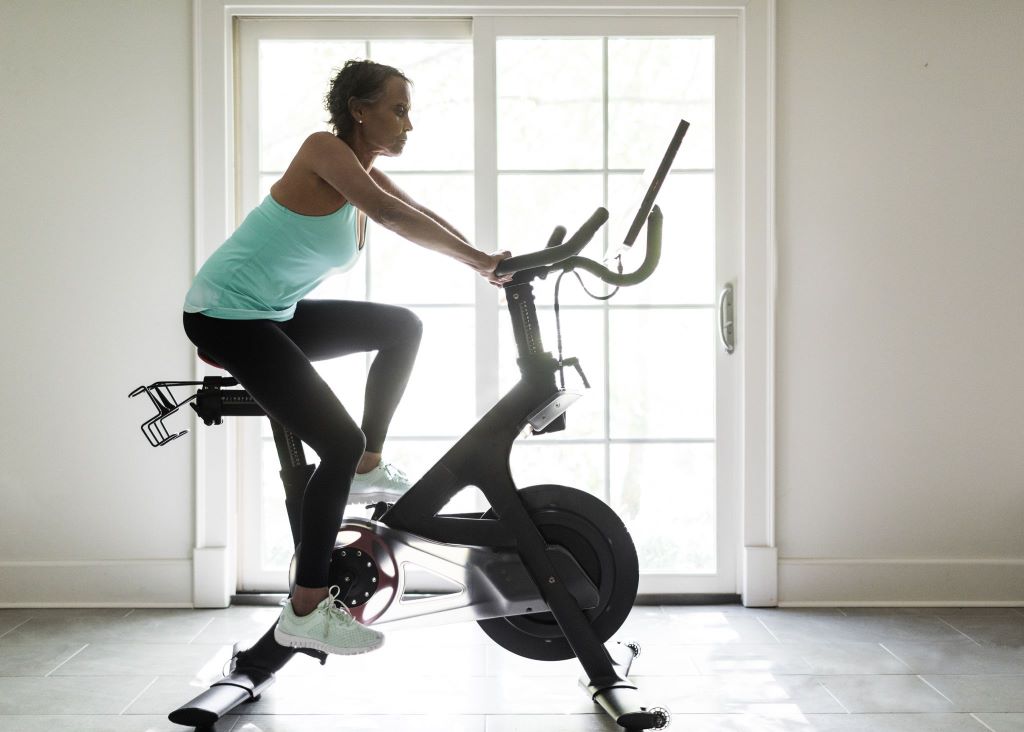
Riding an exercise bike, a stationary bike, or an indoor cycling bike is a popular cardiovascular workout. Properly adjusting and seating yourself on the exercise bike can help you maximize your workout while avoiding injury. One key consideration for comfort and support during your ride is choosing the right exercise bike seats with back support.
Ensuring that your exercise bike is equipped with a comfortable seat that provides proper lumbar support can significantly enhance your overall experience, making your workout more enjoyable and effective. Adjusting the seat height and position to align with your body’s proportions is equally important in maintaining proper form and reducing the risk of strain or discomfort. So, whether you’re a seasoned cyclist or a beginner, investing in exercise bike seats with back support can contribute to a more comfortable and beneficial workout routine. Here’s a comprehensive guide on how to sit on an exercise bike.
Adjust the Seat Height
The seat height is one of the most critical adjustments on an exercise bike. A seat at the right height for your body and legs is crucial for proper cycling form and comfort. Here are some tips on finding your optimal seat height:
- When seated on the bike, place one heel on a pedal at the bottom of its revolution. Your leg should be fully extended with just a slight bend at the knee.
- If your leg is too straight or your hips are rocking as you pedal, the seat is too high. Lower it incrementally until your knee has a slight bend when fully extended.
- If your knee feels too bent and you must rock your hips to reach the pedal, the seat is too low. Raise it gradually until you find the height where your knee is slightly bent when fully extended.
- The ideal seat height should allow you to pedal comfortably and efficiently without overextending your knee or straining your hips.
- You may need to fine-tune the height after riding for a few minutes to find the sweet spot. Don’t be afraid to make micro-adjustments until it feels right.
Getting the seat height set correctly will prevent knee, hip, and back pain while allowing you to generate more power.
Adjust the Seat Fore/Aft Position
The fore/aft seat adjustment slides the seat forward or backward on the seat post. Adjusting this can impact your cycling comfort and the effectiveness of your pedal stroke. Follow these tips:
- When pedaling, your knee should be lined up over the ball of your foot as it reaches the bottom of the stroke. Observe this from the side as you pedal.
- If your knee extends far beyond your toe, slide the seat forward. If your knee doesn’t reach your toe, slide it backward.
- The goal is to find the fore/aft position where your knees are vertically stacked above your feet and pedal spindles during the downstroke.
- Make minor incremental adjustments and pedal for a few minutes before reassessing.
Proper fore/aft alignment allows you to utilize your quads and hamstrings through each pedal stroke efficiently. It eliminates strain on your knees while optimizing power transfer.
Adjust the Handlebar Height
The handlebars at the correct elevation are vital for upper body comfort and proper riding posture. Use these guidelines when adjusting the handlebar height:
- When gripping the handlebars, your elbows should slightly bend around 20-30 degrees. Avoid having your arms wholly straight or overly bent.
- Raise the handlebars if holding them forces you to scrunch your shoulders up or bend your wrists at an uncomfortable angle.
- Lower the handlebars if holding them strains your neck to look forward or makes your back hunch over.
- The handlebars should be close enough to allow you to sit upright while maintaining a flat, muscular back. But not so close that you feel crowded.
Finding your ideal handlebar height takes the strain off your arms, shoulders, neck, and back for a more comfortable, sustainable ride.
Adjust the Handlebar Reach
The reach or horizontal position of the handlebars can also be adjusted on most exercise bikes. Follow these guidelines:
- When seated with hands on the grips, there should be a slight bend at your elbows. Avoid having your arms wholly straight or overly angled.
- If you have to hunch forward or can’t reach the handlebars without straining, slide them closer horizontally.
- If your torso is too upright or tilted back, slide them further away until your back is flat.
- Handlebars positioned too far force an uneven slumped posture. Too close crowds your body. Find the proper reach for your arm length that allows a natural upright back position.
Getting the handlebar reach dialed in tailors the bike fit to your unique proportions for maximum comfort and efficiency.
Adjust the Handlebar Angle
Some exercise bikes allow you to adjust the angle of the handlebars up or down. Here are some fitting tips:
- The handlebars should angle enough that your wrists remain neutral when gripping them.
- Bent down wrists place strain. Angling the handlebars up slightly keeps wrists flat and aligned with forearms.
- Don’t angle the bars excessively up where it forces your torso into an uncomfortable leaning forward position.
- Find the angle where your wrists are neutral, not bent, and your back stays straight yet relaxed.
Adjusting the handlebar angle dial in your wrist and hand comfort for longer rides without fatiguing your upper body.
Adjust the Saddle Angle
Tilting the saddle or seat angle up or down can impact comfort and support. Use these tips to find your optimal saddle tilt:
- Never angle the saddle down or fully horizontally; this places pressure in the wrong spots.
- Start with the saddle relatively parallel to the ground as a neutral baseline.
- If you feel like sliding forward, angle the saddle slightly upward until you feel seated firmly.
- Don’t tilt excessively upward, or it can cause groin discomfort by rotating your pelvis too far forward.
- Find the minimal upward angle where you feel planted solidly on the saddle without sliding or pressure.
The correct saddle tilt provides tailbone and sit-bone support for longer rides without discomfort. Make micro adjustments to dial it in.
Adjust the Saddle Fore/Aft
Some exercise bikes allow you to slide the saddle forward or backward on the seat post. Here’s how to find the ideal fore/aft saddle position:
- Your forward knee should be stacked directly above the pedal spindle when pedaling with each downstroke.
- If your knee tracks too far forward from the pedal, slide the saddle back slightly to align it.
- If your knee can’t reach the vertical point above the pedal, slide the saddle forward a bit.
- The goal is to align the saddle so your knees stack precisely above the pedals when cycling.
Perfect saddle fore/aft position prevents knee strain and efficiently engages your legs’ pedaling power.
Adjust the Handlebar Fore/Aft
Sliding the handlebars forward and back, independent of the seat, allows further fine-tuning of your bike fit. Follow these tips:
- In the optimal position, your torso will form around a 45-degree angle to the ground when riding.
- If your back is hunched over too far forward, slide the handlebars back to open up the hip angle.
- Bring the handlebars forward to create a 45-degree riding posture if your torso is leaned too far back.
- Find the fore/aft handlebar position that allows a slightly forward-tilted neutral back posture.
Handlebar fore/aft alignment is critical for robust, efficient pedaling by enabling proper riding geometry.
Adjust the Resistance
All exercise bikes have a resistance adjustment that increases or decreases pedaling intensity. Use these guidelines to find the correct resistance settings:
- Start at a low resistance to warm up. You should be able to pedal comfortably and efficiently.
- Gradually increase resistance to raise your heart rate and effort to the desired intensity.
- Avoid using a resistance that is too difficult to maintain a steady pedaling rhythm and form.
- For interval training, use higher resistance levels for bursts of hard pedaling, then lower them for active recovery.
- Cool down with lighter resistance, letting your heart rate and breathing return to normal.
Optimizing resistance allows you to cycle at intensities tailored to your fitness level and workout goals.
Maintain Proper Seated Posture
Once your exercise bike is adjusted, maintaining proper posture is crucial for technique, comfort, and efficiency. Remember these seated riding posture tips:
- Keep your back flat and spine neutral without rounding or arching. Engage your core.
- Sit upright with a slightly forward tilt from hips to shoulders. Avoid slumping.
- Relax your elbows and grip the handlebars lightly without clenching your hands.
- Look straight ahead, not down, keeping the neck aligned with the spine.
- Pedal with a ball of the foot over the spindle using the entire foot if using cages or clips.
- Keep shoulders low and relaxed, not tensed up or hunched.
- Maintain soft bent knees and low heels; don’t lock knees or point toes.
Proper posture reduces injury risk while allowing fluid pedaling and total breathing capacity.
Adjust Cleat Position on Clipless Pedals
Properly positioning the cleats is essential for power and comfort if riding with clipless pedals. Follow these tips:
- Position cleats so the ball of your foot is over the pedal spindle when pedaling.
- Angling cleats inwardly can slightly ease knee strain by improving pedaling biomechanics.
- Place cleats as far forward as comfortable without toes hitting front of shoes.
- Start with cleats positioned centered under the ball of your foot as a neutral baseline.
- Make minor incremental angular and horizontal adjustments to the cleat position if experiencing discomfort.
- Carefully test each cleat position adjustment for a few minutes to assess its impact.
- Finding your optimal cleat alignment may take some trial and error. Don’t rush the process.
- Properly positioned cleats prevent hot spots and knee pain while transferring power efficiently through each pedal stroke.
Sit with a Neutral Pelvis
Maintaining proper pelvic positioning is crucial for both spinal health and pedaling power. Follow these pelvic posture guidelines:
- Avoid tilting your pelvis too far forward or tucking it under while seated.
- Imagine balancing a water dish on your pelvis, keeping it level without spilling.
- Engage your lower abdominals to keep your pelvis neutral and stable.
- If you feel like you’re rounding through your lower back, tilt your pelvis back slightly.
- If your back is overly arched, rock your pelvis forward a bit.
Finding the neutral pelvic sweet spot reduces strain on your spine and engages your core for maximal pedaling efficiency.
Distribute Weight Evenly
How you distribute your body weight on the bike seat also impacts comfort, endurance, and power. Follow these tips:
- Avoid leaning too far forward, back, or to one side, which unevenly loads the saddle.
- Distribute your weight evenly across your sit bones and tailbone.
- Imagine dropping straight down through your bones into the saddle without rocking side to side.
- If you feel numbness or discomfort, shift your hips slightly forward and back to redistribute weight.
- Taking short stand-up breaks helps restore blood flow to compressed areas.
Evenly distributed weight lets you stay seated and pedal powerfully through longer rides.
Maintain Proper Pedaling Technique
Pedaling is vital for generating smooth, consistent power and avoiding injury. Remember to:
- Pedal in circles, not mashing up and down. Strive for consistent rhythm.
- Push down through each foot’s instep, not just the quad. Use your entire foot.
- Let your knees track naturally inwards and outwards instead of forcing straight vertical motion.
- Think about scraping mud off the bottom of your shoe on each downstroke to engage your hamstring and glute.
- Pull back and up during the recovery portion of the pedal stroke to maintain momentum.
- Avoid rocking your hips and upper body from side to side. Sit still and drive the pedals.
Proper pedaling technique utilizes all your major leg muscles while protecting your knees. It takes practice but becomes natural.
Engage Your Core While Riding
Activating your core muscles is vital for optimal pedaling power and injury prevention. Be sure to:
- Draw your navel towards your spine to brace your abs without breathing.
- Focus on keeping your lower back flat by engaging your deep spinal stabilizers.
- Avoid rounding through your shoulders and neck. Maintain an upright posture.
- Imagine squeezing a tennis ball between your shoulder blades to set your shoulder position.
- Lightly tuck your chin to align your head with your spine.
- Concentrate on keeping your hips and shoulders squared to the front and resist rotation.
Riding with proper core engagement utilizes your body’s power efficiently while protecting your back.
Change Hand Positions
Varying your grip position during rides can ease discomfort and fatigue in your upper body.
- Switch between the tops, hoods, and drops of the handlebars to alter hand, wrist, and arm positions.
- Shift your hands around periodically to distribute pressure to different contact points.
- Try resting your forearms on the handlebar pads to give your hands a brief break.
- Stand up and pedal every 10-15 minutes to give your arms and butt a rest from supporting your weight.
- Shake out your arms during breaks to boost blood flow to your hands.
Changing hand positions provides relief by utilizing different muscle groups and contact points. This allows you to ride longer comfortably.
Take Regular Breaks
Getting off the bike regularly is just as crucial as your seated position while riding. Be sure to:
- Stand up from the saddle and pedal for 1-2 minutes after every 10-15 minutes of seated riding.
- Every 30 minutes, stop pedaling and step off the bike to fully walk around and stretch your legs.
- Avoid staying locked in one position for long periods. Take breaks before you feel strained or numb.
- After longer rides, stretch your chest, hips, hamstrings, quads, calves, and hips.
Frequent breaks to move and change positions keep you feeling fresh while avoiding aches, pains, and overuse injuries.
Properly adjusting and positioning yourself on your exercise bike is crucial for comfort, performance, and injury-free. Take the time to dial in the fit carefully and maintain proper form. Your body will thank you with better workouts.
Frequently Asked Questions
Question: Should my knees be bent when pedaling on an exercise bike?
Answer: You should always maintain a slight knee bend throughout the pedal stroke on an exercise bike. You are locking your knees straight, which places excessive strain on your knee joints. Aim for a soft 20-30-degree bend that allows your knees to track appropriately over the pedals.
Question: How often should I stand while riding an exercise bike?
Answer: Standing up from the saddle and pedal for 1-2 minutes after every 10-15 minutes of seated riding is recommended. This gives your butt and back a break while working your legs from a different angle.
Question: Should I lean forward when riding an exercise bike?
Answer: You should maintain a slightly forward-tilted posture from your hips through your shoulders. Avoid rounding your back, but don’t lean too far forward. Keep your neck and head aligned with your spine, looking on.
Question: Can I adjust the handlebars on an exercise bike?
Answer: Most exercise bikes allow you to adjust the handlebars vertically and horizontally to tailor the fit. Adjust them to create a comfortable arm position with a slight bend at the elbows when gripping the bars.
Question: How do I stop my hands from going numb on an exercise bike?
Answer: Numb hands while cycling usually result from bent wrists or too much pressure. Try angling the handlebars up slightly to keep your wrists flat. Change hand positions often and take regular breaks to reduce pressure.
Conclusion
Adjusting your exercise bike and maintaining proper form is essential for getting the most out of cycling indoors. Take the time to carefully fit the seat height, handlebar position, and saddle angle to your body—pedal with smooth technique, keeping your core engaged and weight centered on the saddle. By changing hand positions and taking regular breaks on a stationary bike, you not only enhance comfort and reduce strain, allowing for longer rides, but also potentially increase the number of calories burned, as proper bike setup and riding posture improve overall performance and prevent injury. With the appropriate adjustments and good cycling form, indoor cycling can be an incredibly effective and enjoyable workout.

