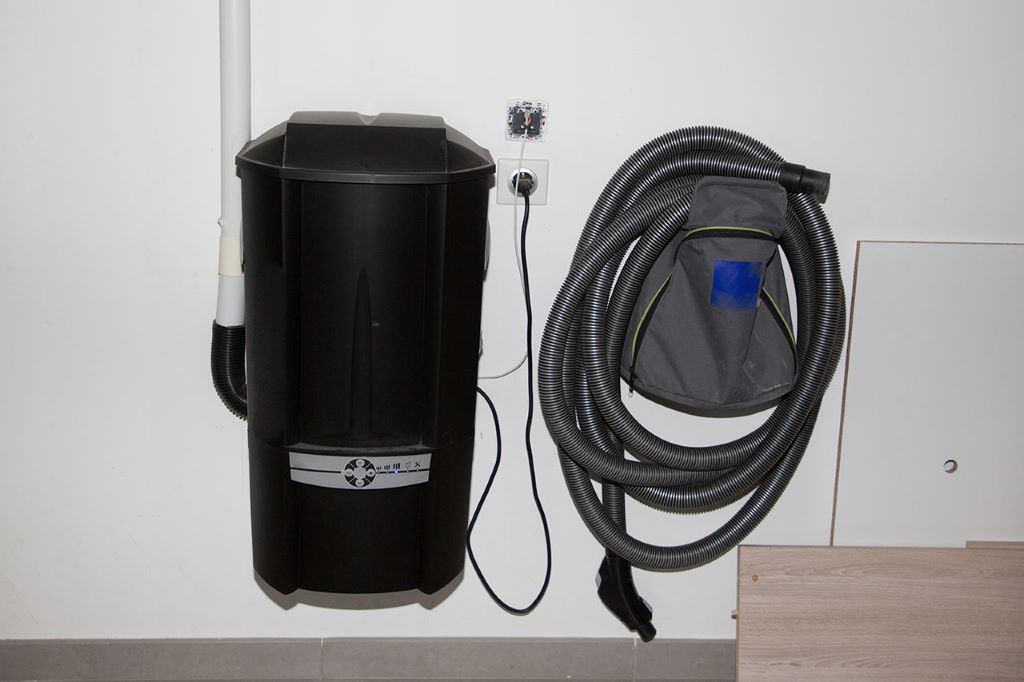
A central vacuum system is one of the best home improvements you can make. Unlike regular vacuums that only clean the surface, central vacs remove dirt, dust, pet hair, and allergens from deep inside carpets and upholstery. The powerful suction makes house cleaning faster, more efficient, and more effective.
Installing a central vacuum can save thousands of dollars in labor costs compared to hiring a professional. A DIY central vacuum installation is doable with the proper planning and materials. This guide will walk you through the entire process, from choosing the right system to wiring and installation. Let’s get started!
Choosing the Right Central Vacuum System
The first step is selecting the right central vacuum system for your home. Here are the key factors to consider:
Type of Motor
- Bypass motor – Most common type. The motor does not require cooling, so it can be installed in tight spaces like crawl spaces or attics. It is less potent than a turbine motor but still very effective for residential use.
- Turbine motor – More powerful but requires more airflow to prevent overheating. It must be installed in a ventilated area like a garage or basement. Best for larger homes over 3,500 sq ft. Explore how does a central vacuum system work.
Power Level
- Measure the square footage of your home and look for a motor with adequate power. For example:
- Up to 2,000 sq ft = 5.8 peak HP or higher
- 2,000 to 3,500 sq ft = 7.4 peak HP or higher
- Over 3,500 sq ft = 9.5 peak HP or higher
Noise Level
- Look for motors rated at less than 70 decibels for quiet operation.
Filtration
- Look for at least 7-stage filtration to capture dust, allergens, and microscopic particles.
Warranty
- Choose a system with at least a ten-year warranty on the motor.
Budget
- Central vacuum prices range from $500 to $2,500 depending on motor power, brand, features, etc. Measure your home and determine how much power you need to find the right balance of price and performance.
Brands
- Top brands include MD Central Vacuum, Vacuflo, Cyclovac, VacuMaid, Hayden, and Beam.
Shop Vacuum Kits Designed for DIY Installation
Many central vacuum brands now sell complete kits designed for DIY installation. For example:
- MD Central Vacuum DIY Kit – Comes with bypass motor, 30 feet of 2 1/2” PVC pipes and fittings, low voltage wiring, inlet valves, and all accessories needed. The homeowner supplies standard 110V electrical wiring.
- Vacuflo Pipedream DIY Series – Choose a 7.5 HP or 6.5 HP motor with all required pipes, inlets, and parts. It also includes the installation DVD.
- Cyclovac Owner-Installer Packages – Motor, muffler, pipes, wiring, inlet valves, and tool caddy provided. Available in various configurations.
Choosing a DIY kit ensures you get all the right components in one purchase. Kits provide detailed instructions and tech support as well.
Estimating the Number of Inlets
Inlets allow you to connect vacuum hoses in different rooms. The number needed depends on the size of your home:
- Up to 1,800 sq ft home – 3 inlets
- 1,800 to 3,000 sq ft – 4 to 5 inlets
- 3,000 to 5,000 sq ft – 6 to 8 inlets
- Over 5,000 sq ft – 9+ inlets
Ideally, every bedroom, living/family room, study, and other busy areas should have an inlet. Extra inlets in long hallways are helpful, too. Install them 18 to 24 inches above floor level.
Mapping Out Piping Layout
Once you know the number of inlets, map out where the pipes will be routed. Here are some tips:
- Use straight runs as much as possible to maximize airflow.
- Minimize 90-degree angles. Use sweeps and 45s where possible.
- Run the main pipe along central areas to distribute flow. Branch off to rooms.
- Keep pipes as short as possible by locating the motor centrally.
- 15 to 20 feet max distance from inlet to motor.
Make your piping layout on a floor plan of your home. This will be your road map for installation.
Choosing Pipe and Fittings
You’ll need PVC pipes, fittings, straps, hangers, and accessories to connect everything:
- Pipes – Use 2 1/2” or 3″ diameter PVC schedule 40 pipes. Smooth interior maximizes airflow.
- Fittings – Y joints, elbows, crosses, couplings, etc, to connect pipes.
- Hangers – Heavy-duty straps anchored to joists to support pipes. Place every 4 feet.
- Accessories – End caps, drain valves, suction inlets, gaskets, clamps, etc. Buy a complete hardware kit.
Installing Wiring
Central vacuums need low-voltage wiring from the inlets back to the motor. You have two options:
Low Voltage Wiring Kit
- Contains wiring, a junction box, contacts, etc.
- Run wires through joist cavities and conduit to hide.
Wireless Inlets
- No wiring is required. Inlets operate via radio frequency.
- Batteries must be replaced every two years.
Wired inlets provide constant power and are the most convenient in a long time. But wireless inlets make installation much more straightforward.
Tools and Safety Equipment Needed
These tools will get the job done safely:
- Tape measure
- Marker
- Screwdrivers
- Drill
- Hole saw
- Reciprocating saw
- Pliers
- Utility knife -Flashlight
- Safety goggles
- Dust mask
- Ear protection
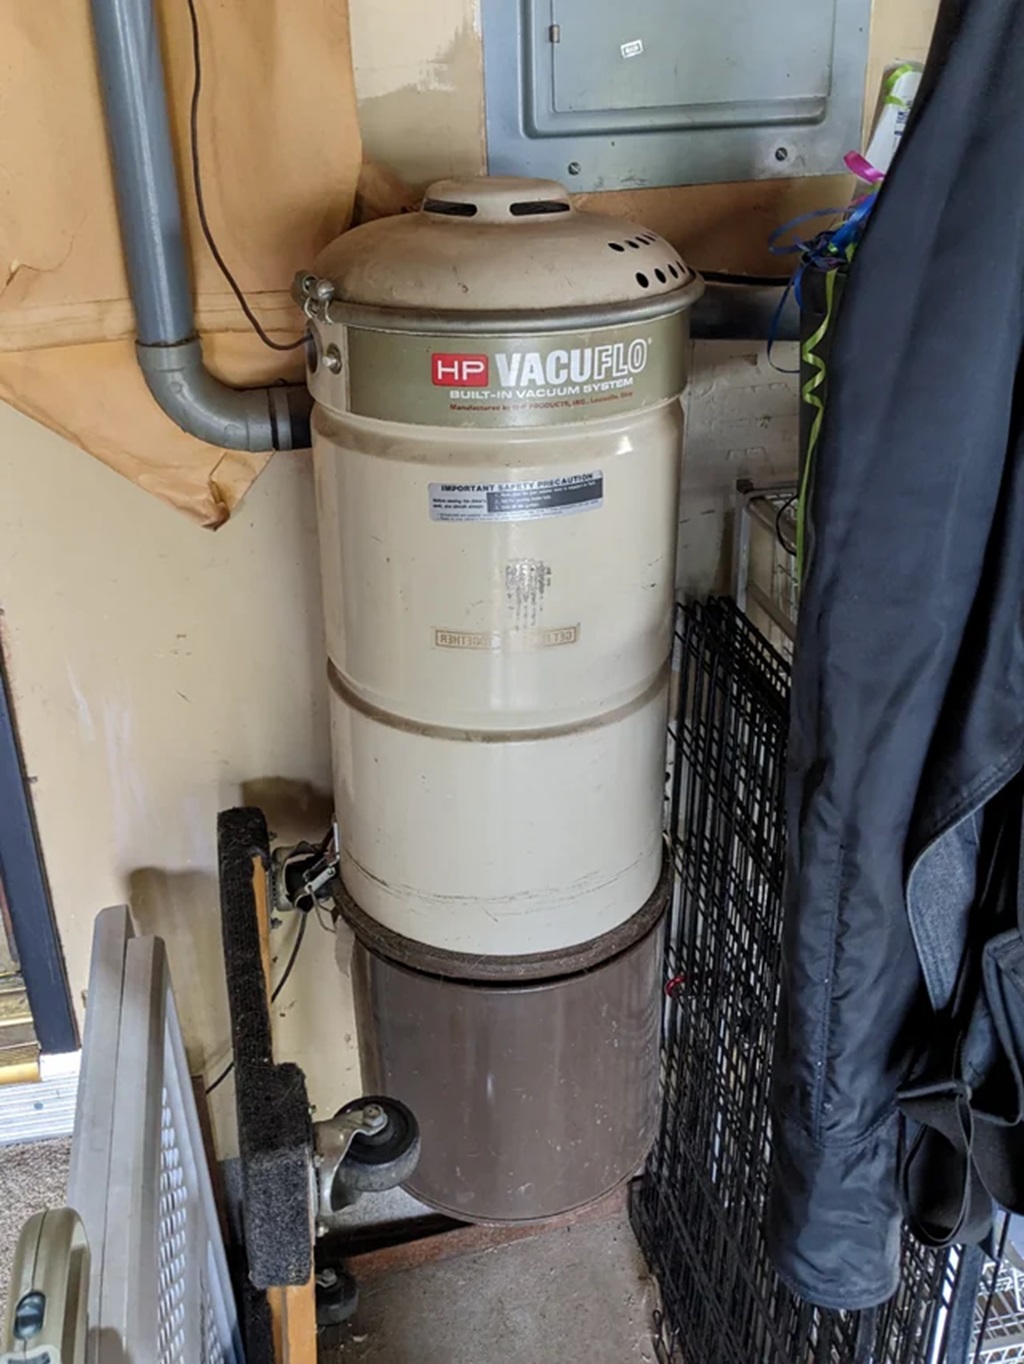
Installing the Motor Unit
The central vacuum motor provides the suction and power for the system. Follow these steps to install:
Choose Location
- Centrally located to pipes/inlets (e.g. garage)
- Well-ventilated area if turbine motor
- Accessible to run 110V wiring
Mounting
- Use wall brackets to mount the motor 6” above the floor securely
- Attach rubber feet to reduce vibration
- Allow 12” clearance around the motor for air circulation
Electrical
- Shut off home power at the breaker
- Run 14/2 Romex wiring from breaker to motor
- Connect wiring to the motor terminal
- Install junction box for wires
Exhaust Venting
- Attach exhaust muffler to muffle noise
- Run vent pipe outdoors
- Install vent hood with screen outside
Vacuum Connection Port
- Install a vacuum inlet box near the motor
- Attach 2 1/2” pipe with gasket
- Allows direct vacuuming near motor
Installing the Piping System
Once the motor is securely installed, you can connect the pipes throughout the home.
Plan Routing
- Follow your pre-planned pipe layout
- Confirm inlet locations are accessible
Cut Pipes
- Measure runs and cut pipes with a hacksaw
- Add a few inches to allow for joints
Connect Pipes
- Dry assemble first using couplings
- Mark where to thin if needed
- Glue joints using PVC cement
Insert Wires (If Applicable)
- For wired inlets, run low-voltage wires through pipes
- Use junction boxes to connect wires
Mount Pipes
- Use hangers to attach pipes to floor joists
- Place hangers every 4 feet
- Use straps around 90-degree bends for support
- Leave a 1/4″ gap between the pipe and the joists
Install Drain Valves
- Place low-point drain valves to remove moisture
- Attach to the side of the pipe using a saddle tap
Installing the Inlets
Inlets allow you to connect vacuum hoses in different rooms. Here’s how to add them:
Choose Locations
- Place 18-24 inches above floor level
- Locate in an inconspicuous area if possible
Cut Access Hole
- Use a 2 1/8” hole saw to cut an opening for the inlet
- Drill through wall material and drywall
Mount Inlet
- Insert the inlet in the hole and tighten the mounting bracket
- Attach cover plate for a clean appearance
Connect Pipe
- Dry assemble pipe to inlet using couplings
- Glue in place using PVC cement
- Attach inlet door gasket to seal
Connect Wires (If Applicable)
- Attach low voltage wires from pipe
- Confirm wires have continuity back to motor
Test Suction at Each Inlet
- Connect the vacuum hose to each inlet
- Have a partner turn on the motor at the central unit
- Verify strong suction through the hose
- Check for any air leaks and re-glue any joints if needed
Install Inlet Covers
- Attach removable inlet covers over cut-outs
- Covers protect inlets when not in use
Run Initial Debris Purge
- Vacuum each room without a bag or filter
- Allows drywall dust and debris to be removed from pipes
Seal Floor and Wall Penetrations
- Seal any holes made for piping with silicone caulk
- Prevents debris and pests from entering pipes
Install Central Vac Accessories
Install Central Vac Accessories
- Mount the hose caddy, vacuum hoses, attachments, etc.
- Make sure accessories can reach every room
Inform Family Members
- Show family members how to use the new system
- Point out inlet locations and demonstrate central vacuum operation
- Please encourage them to use it versus other vacuums!
Enjoy Your New Central Vacuum!
Congratulations, you have successfully installed a powerful central vacuum system in your home! Follow the manufacturer’s recommendations for periodic filter cleaning and maintenance. Your central vac will provide superior floor cleaning for many years to come. Time to relax and admire your handiwork!
Frequently Asked Questions
How difficult is it to install a central vacuum DIY?
The process involves tools and skills like measuring, cutting, assembling PVC pipes, and making wiring connections. If you’re comfortable doing home improvement projects, it’s very manageable, especially with a DIY kit.
What are the biggest mistakes to avoid?
Avoid making too many tight 90-degree bends – use sweeps whenever possible. Also, ensure pipes are well supported – sagging pipes can break joints loose. Check for air leaks and re-glue any bad joints.
How long does installation take?
Plan on 20-40 hours for the typical home. The time depends on the system layout, number of inlets, and your DIY experience. Go slowly and double-check everything.
Can I install a central vacuum myself if I don’t have electrical skills?
Yes – you can hire an electrician just for the final motor wiring. The low voltage wiring takes minimal electrical know-how. Wireless inlets eliminate wiring.
What’s the best way to hide PVC pipes?
Run pipes through joist cavities in walls and floors—paint pipes to match surrounding colors. Install soffit boxes around exposed horizontal runs. Use decor covers over inlet valves.
Conclusion
Installing a central vacuum system is a satisfying DIY project that will make house cleaning much more accessible for years. Proper planning and materials can save thousands of dollars versus paying a professional. Explaining pool vacuuming for dead algae is crucial for maintaining a pristine pool. Just as you carefully measure your home, choose a suitable central vacuum system, and map out piping runs during installation, understanding the nuances of pool vacuuming ensures a crystal-clear swimming experience. Follow the steps in this guide, and you can comfortably install a practical, convenient central vacuum in your home. Enjoy decreased dust and allergens and the lasting satisfaction of a significant DIY achievement.