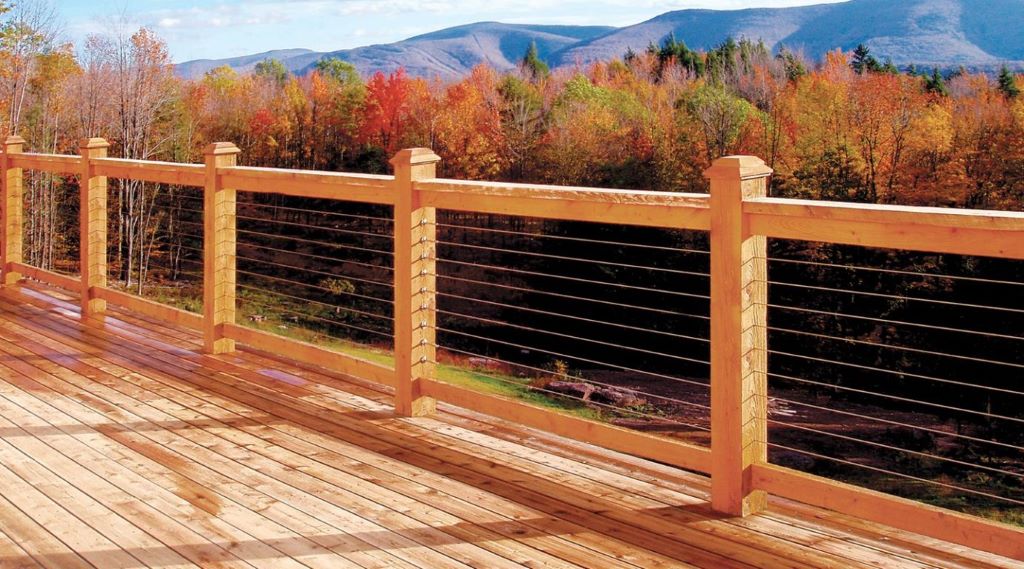
Hey there, DIY enthusiast! Are you looking to add a touch of elegance and safety to your deck, balcony, or staircase? Metal rope railing might just be the answer. Whether you’re sprucing up your home or embarking on a new construction project, installing metal rope railing can enhance both aesthetics and safety.
In this comprehensive guide, we’re going to walk you through the process of installing metal rope railing. We’ll break it down into easy-to-follow steps, share some valuable tips, and even throw in a few analogies and metaphors to make it all the more engaging. So, grab your tools, put on your safety gear, and let’s get started!
Step 1: Gather Your Supplies
Before we dive into the nitty-gritty of installation, let’s make sure you have everything you need. When preparing for a camping trip, it’s crucial to ensure that you have all the essential gear. You wouldn’t want to overlook your tent or sleeping bag, would you? Additionally, it would be best if you brought along some extra equipment, such as a metal rope clamp, to secure your gear to trees or other sturdy objects. Similarly, for this project, you’ll want to gather your supplies:
- Metal Posts: These are the vertical supports for your railing. They should be sturdy and securely anchored.
- Metal Rope: Opt for a durable material like stainless steel or aluminum. Measure the length you’ll need based on the area you’re railing.
- Brackets: These are used to attach the metal rope to the posts.
- Drill and Screws: For attaching brackets to the posts.
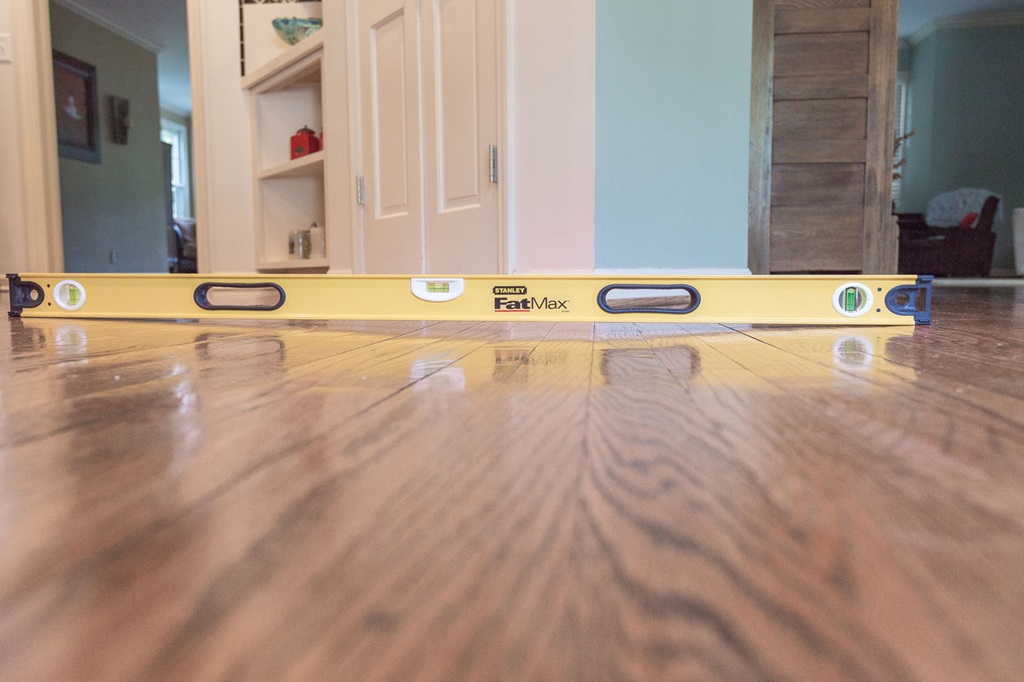
- Level: Ensure your railing is straight and level.
- Tape Measure: Precision is key here.
- Wrench or Socket Set: For tightening bolts and nuts.
- Safety Gear: Gloves and safety glasses are essential.
- Pencil and Marking Tape: For accurate measurements and marking.
- Concrete Mix (if applicable): If you’re installing on concrete, you’ll need this.
Step 2: Measure Twice, Cut Once
Remember the old saying, “measure twice, cut once”? It applies perfectly here. Take your tape measure and measure the exact length where you want to install the metal rope railing. If you’re working on a staircase, measure the angle as well.
Imagine you’re tailoring a suit – precision is everything. Once you have your measurements, mark the spots on the posts where you’ll be attaching the brackets. Make sure these marks are level and aligned.
Step 3: Prepare the Posts
Now, let’s prepare the posts. These are like the foundation of a skyscraper – they need to be solid. If you’re attaching your railing to wood, you can skip this part. But if you’re securing it to concrete or metal, pay close attention.
First, if you’re attaching to concrete, drill holes using a masonry bit. Insert anchor sleeves or anchors into these holes. For metal posts, use a metal drill bit. This is where your wrench or socket set comes in handy. Tighten nuts and bolts securely.
Just think of this step as securing the roots of a tree – you want it to withstand the elements.
Step 4: Attach the Brackets
Now, it’s time to attach the brackets. These are like the branches that will hold the rope in place. Position the brackets at the marks you made on the posts earlier. Make sure they’re level, and then use your drill and screws to secure them in place.
Remember to double-check your measurements and alignment here. You want your railing to be as straight as an arrow, not crooked like a winding river.
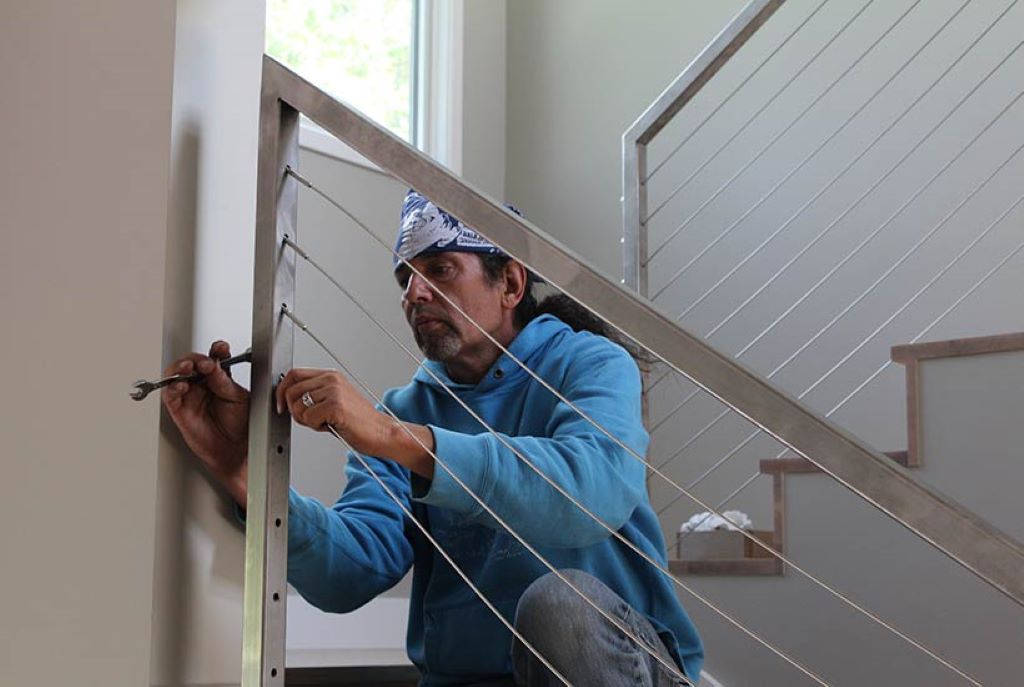
Step 5: Thread the Metal Rope
This is where the magic happens – threading the metal rope. Think of it as weaving a beautiful tapestry. Feed one end of the metal rope through the first bracket. Pull it tight and secure it with a cable clamp. This is where your wrench or socket set comes into play again.
Now, guide the rope through the rest of the brackets, maintaining tension as you go. This creates that beautiful, taut look that rope railings are known for.
Step 6: Tighten and Trim
As you continue threading the rope, imagine you’re pulling on the strings of a puppet – you want it to move with precision. Once you’ve threaded the entire length, secure the other end with another cable clamp. Make sure it’s nice and tight.
Now, trim any excess rope using wire cutters. You don’t want any loose ends sticking out. Safety is key here – you don’t want anyone getting snagged on a loose end.
Step 7: Final Adjustments
Your metal rope railing is nearly complete! But before you call it a day, step back and take a good look. Use your level to make any last-minute adjustments. It’s like putting the finishing touches on a masterpiece – the details matter.
Ensure the railing is straight, level, and that the tension on the rope is uniform throughout. Once you’re satisfied with how it looks, give it a final once-over to make sure all brackets are securely attached.
Congratulations! You’ve successfully installed your very own metal rope railing. It’s not just a safety feature; it’s a work of art that adds a touch of class to your space.
Maintenance Tips
Now that you’ve completed your metal rope railing installation, let’s talk about keeping it in top shape. Just like maintaining a car or a bicycle, a little TLC goes a long way. Here are some maintenance tips:
- Regular Cleaning: Imagine your railing as a prized possession – you’d want to keep it clean, right? Wipe it down with a damp cloth regularly to remove dirt and dust.
- Inspect for Damage: Take a close look at your railing every few months. Check for loose brackets, frayed rope, or signs of rust. Fix any issues promptly to ensure safety.
- Re-Tension the Rope: Over time, the rope may loosen slightly. Imagine it’s like tightening a guitar string for the perfect note. Use your cable clamps to re-tighten the rope as needed.
- Apply Rust Inhibitor: If your railing is exposed to the elements, consider applying a rust inhibitor to prevent corrosion. Think of it as sunscreen for your railing.
- Repaint if Necessary: If the paint on your metal posts starts to peel or fade, a fresh coat can make your railing look brand new. It’s like giving a room a new coat of paint – it freshens things up.
FAQs
Now, let’s tackle some common questions you might have about installing metal rope railing.
Q1: Can I install metal rope railing on my own, or should I hire a professional?
A1: You can absolutely tackle this DIY project on your own, especially if you have some experience with basic tools and measurements. However, if you’re unsure about your skills or if the railing will be installed in a high-traffic area, it might be wise to consult a professional for added safety and peace of mind.
Q2: Which type of metal rope is the best choice for outdoor use?
A2: Stainless steel and aluminum are excellent choices for outdoor metal rope railing. They are highly durable and resistant to corrosion, making them ideal for withstanding the elements.
Q3: What’s the maximum span length for metal rope railing without additional support?
A3: The maximum span length for metal rope railing without additional support depends on the thickness and material of the rope. Generally, you should aim to have support brackets approximately every 4 to 6 feet to maintain stability and safety.
Q4: Can I install metal rope railing on a sloped surface or staircase?
A4: Yes, you can install metal rope railing on a sloped surface or staircase. However, it requires careful measurement and bracket placement to ensure the railing follows the slope correctly. In some cases, you might need specialized brackets to accommodate the angle.
Q5: Is it possible to customize the design of metal rope railing to match my aesthetic preferences?
A5: Absolutely! Metal rope railing can be customized in various ways to suit your aesthetic preferences. You can choose different rope styles, post designs, and even paint colors to match your overall design theme. Just remember to maintain safety and structural integrity in your customization choices.
Conclusion
Installing metal rope railing is like adding the final brushstrokes to a beautiful painting. Rope traps unveiled: how do rope traps work not only enhances the safety of your space but also adds a touch of elegance and charm, allowing you to enjoy your stylish and secure railing for years to come by following the steps in this guide and keeping up with routine maintenance.
So, go ahead and transform your space with this DIY project. Gather your supplies, measure meticulously, and create a metal rope railing that’s not only functional but a work of art in its own right. Your home deserves it!