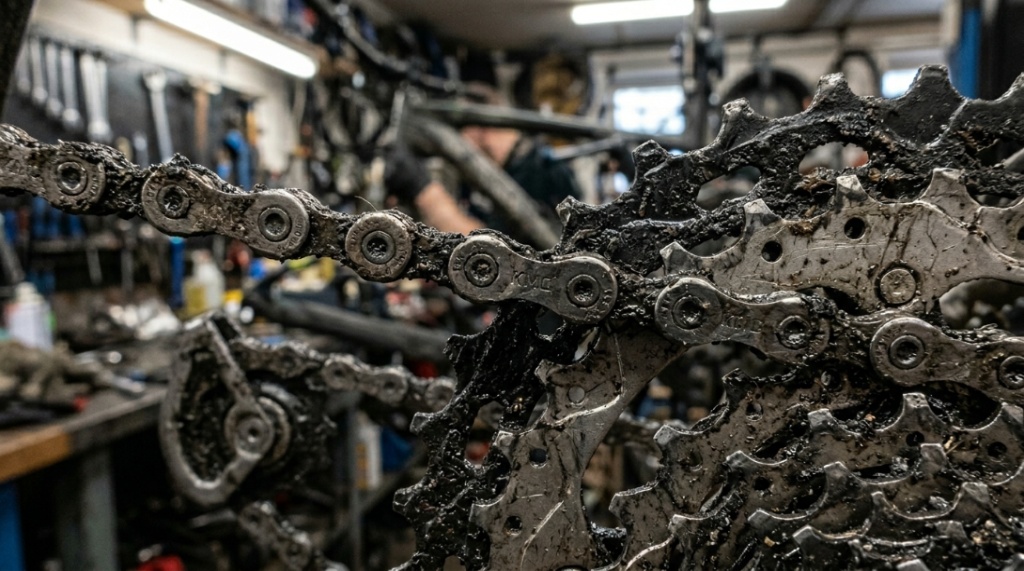
A bike shop mechanic told me he can predict a customer’s maintenance habits within seconds of looking at their drivetrain — the thick black paste of over-lubing, the orange rust of under-lubing, the ground-down cassette teeth of wrong-product selection. Each pattern tells the same story: good intentions ruined by chain lubrication mistakes that cost more in component replacement than proper technique ever would. These seven MTB maintenance tips address the errors I see repeatedly on the trails and in shop queues — from riders who spend hundreds on their bikes but destroy drivetrains through preventable lubrication failures. Every mistake on this list is fixable in under a minute once you understand what is going wrong and why. The riders with 3,000-mile chains are not using secret products; they simply avoid these seven errors that everyone else keeps making.
Mistake #1: Lubing a Dirty Chain — Why Does This Destroy Your Drivetrain?
Applying fresh lube over a dirty chain seals abrasive particles inside the rollers, where they remain trapped beneath the new lubricant film and continue grinding metal — transforming what should be protection into a delivery system for accelerated wear.
What happens mechanically:
- Existing contamination (dust, grit, metal shavings) sits inside roller bushings
- Fresh lube coats over these particles, trapping them against metal surfaces
- The lubricant film actually holds particles in place more effectively than a dry chain would
- Under load, trapped particles grind against pins and bushings with every rotation
- The fresh lube lubricates the abrasive process — making grinding smoother but not stopping it
The correct approach:
- Always clean before lubing (chain cleaning tool, degreaser rag, or solvent wipe)
- Minimum: wipe the chain with a dry rag until no more black residue transfers
- Ideal: use a chain cleaner device with degreaser, rinse, dry completely
- Only then apply fresh lube to clean, dry surfaces
The one exception: mid-ride emergency reapplication when cleaning is impossible. In this case, lubing over contamination is better than riding on a completely dry chain — but it should be followed by a full clean-and-relube at home.
Mistake #2: Using Way Too Much Lube — How Much Is Actually Needed?
One single drop per roller link is all that is needed — excess lube on the chain exterior provides zero additional protection while creating a sticky surface that attracts and holds every dust particle within range, effectively turning your chain into flypaper for abrasives.
Why excess lube is counterproductive:
- Internal lubrication: The only surfaces that need lube are the pin-to-bushing interfaces INSIDE each roller. One drop penetrates these gaps adequately.
- External residue: Any lube visible or touchable on the chain exterior is excess. It provides no wear protection because there are no wearing surfaces on the outside of the chain.
- Dust magnet effect: Sticky external lube captures airborne particles that would otherwise pass by harmlessly. These particles then work inward toward wearing surfaces during chain articulation.
- Downstream contamination: Excess flings onto the cassette, chainring, pulleys, frame, and brake surfaces — creating mess and potential braking contamination.
Correct application quantity:
- One drop per roller (not per outer plate, not a stream)
- Backpedal 20–30 revolutions to distribute internally
- Wait for drying time (dry lube) or 5 minutes (wet lube)
- Wipe entire chain exterior with a clean dry rag until it feels DRY
- Properly lubed chain should leave NO mark on a white rag pressed against it
Mistake #3: Using the Wrong Lube Type for Conditions — How Do You Choose?
Using wet lube in dusty conditions creates abrasive grinding paste that accelerates wear faster than riding dry, while using dry lube in rain leaves your chain unprotected within minutes — the wrong type is worse than no lube in both scenarios.
Quick decision guide:
- Dust, sand, dry heat, no rain expected: DRY lube (wax-based or PTFE)
- Rain, mud, stream crossings, high humidity: WET lube (oil-based)
- Mixed/unpredictable conditions: All-conditions lube (compromise formula) or carry both
- If unsure: Default to dry lube — you can always reapply if it washes off, but you cannot undo the dust attraction of wet lube once applied
The mistake most riders make: buying one bottle of “all-purpose” wet lube and using it year-round regardless of conditions. In dry/dusty riding (which represents 60–70% of mountain biking for most regions), wet lube actively damages the drivetrain by bonding dust into grinding paste. Own both types and choose per ride.
Mistake #4: Never Cleaning the Drivetrain — What Accumulates Over Time?
Without regular cleaning, a compounding layer of lube residue + metal shavings + environmental contamination builds up throughout the drivetrain — eventually forming a rigid abrasive paste between cassette cogs, inside pulley bearings, and around chainring teeth that causes system-wide wear acceleration.
What accumulates without cleaning:
- Metal shavings: Normal chain wear produces microscopic steel particles that mix into lube residue. These particles are harder than the surfaces they contact, accelerating wear of components they settle on.
- Environmental contamination: Dust, sand, pollen, plant fibers — everything your chain contacts becomes trapped in lube residue and distributed throughout the drivetrain.
- Old lube residue: Each application layer partially dries and hardens, creating a building thickness of semi-solid residue that restricts chain articulation and cog engagement.
- Corrosion products: In humid conditions, surface rust flakes mix into the paste, adding iron oxide particles to the abrasive mixture.
Cleaning schedule for mountain bikers:
- After every ride: Wipe chain and cogs with dry rag (2 minutes)
- Every 2–3 rides: Full chain clean with degreaser device (10 minutes)
- Monthly: Remove chain, soak in degreaser, scrub cassette and chainrings (30 minutes)
- Seasonal: Complete drivetrain removal and cleaning including derailleur internals (60 minutes)
Mistake #5: Ignoring Reapplication Timing — What Happens When Lube Runs Out?
When chain lube depletes, unprotected metal surfaces contact each other under full riding load — causing adhesive wear (metal transfer between surfaces), accelerated abrasive wear (contamination without lubricant barrier), and potential chain failure during demanding ride sections.
The depletion danger zone:
- 0–50% depleted: Chain still protected. Performance maintained. No action needed.
- 50–80% depleted: Chain begins making slight noise. Protection diminishing but still present. Ideal reapplication point — lube BEFORE reaching zero protection.
- 80–100% depleted: Audible grinding. Metal-on-metal contact occurring. Every pedal stroke causes measurable wear. Lube immediately or stop riding.
- Beyond depletion: Chain may seize, skip, or fail. Cassette damage accelerates rapidly. A few miles in this zone can cause damage requiring full drivetrain replacement.
The mistake: waiting for dramatic symptoms (loud grinding, chain skip) before relubing. By the time symptoms are obvious, significant damage has already occurred. Relube at the FIRST sign of noise — the subtle increase in chain sound that indicates 50–80% depletion, not the screaming that indicates total failure.
Mistake #6: Lubing the Wrong Part of the Chain — Where Does Lube Actually Need to Go?
Lube needs to penetrate the roller-to-pin interface INSIDE each link — not coat the outer plates, side surfaces, or chain exterior. Targeting the wrong surface wastes product, creates mess, and leaves the actual wearing surfaces unprotected.
Chain anatomy and lubrication targets:
- Correct target — inner roller/bushing: The cylindrical roller rotates around a pin. This interface is where 95% of chain wear occurs. Lube must penetrate this gap to be effective.
- Wrong target — outer plates: The flat side plates do not experience wear from riding. Lube on outer plates serves only as a dust collector.
- Wrong target — chain exterior: Any visible lube on the outside provides zero protection. It only attracts contamination.
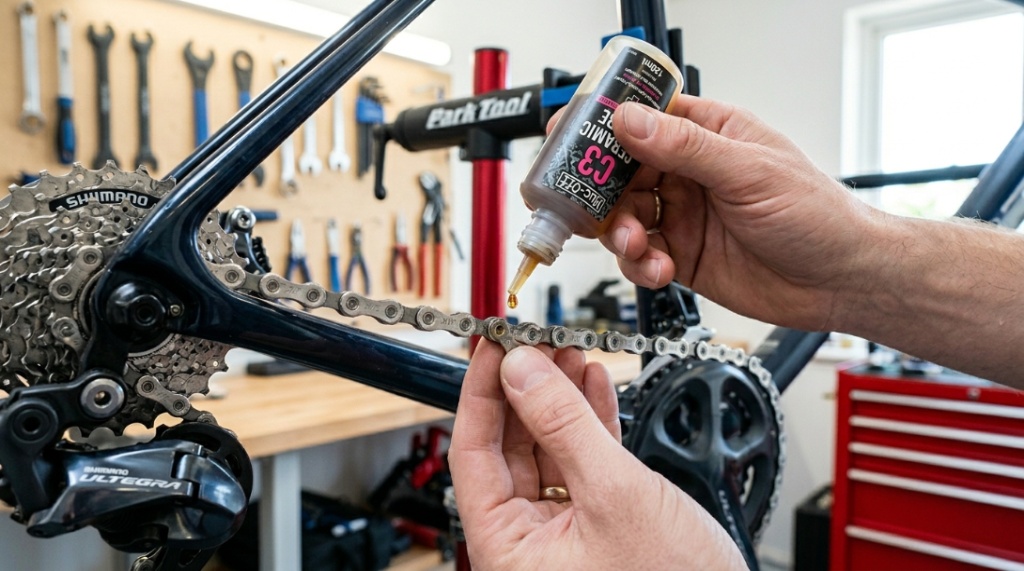
Correct application technique:
- Position the lube bottle tip at the TOP of the lower chain run
- Target the gap between the inner plates where the roller sits
- Apply one drop per roller while slowly backpedaling
- Backpedal 20–30 additional revolutions to work lube into the roller interface via capillary action
- Wipe all external residue — if you can see or feel it on the outside, it is not where it needs to be
Mistake #7: Never Replacing the Lube Bottle — Does Chain Lube Expire?
Yes — chain lube degrades over time through oxidation, carrier evaporation, additive separation, and contamination from repeated bottle opening. Lube older than 2 years (dry) or 3 years (wet) may deliver significantly reduced performance even when applied perfectly.
Degradation signs in stored lube:
- Separation: Visible layers of different consistency (solids settled, liquids on top). Some separation is normal and fixed by shaking, but extreme separation indicates degradation.
- Thickening/hardening: Lube becomes notably thicker than when new, especially in dry formulas where carrier evaporation concentrates solids.
- Color change: Significant darkening or yellowing indicates oxidation of carrier oils or degradation of additives.
- Odor change: Rancid or notably different smell from fresh product indicates chemical breakdown.
- Reduced performance: If the same lube seems to last shorter intervals than it used to, the product may have degraded rather than your conditions worsening.
Storage best practices: keep bottles sealed, store in cool dark locations (not in a hot garage or car), and note purchase date on the bottle. Replace annually if you ride frequently — a $15 bottle per year is trivial insurance against degraded protection.
For product-specific performance data and maintenance protocols that avoid these common mistakes, chain lubrication best practices for mountain biking provides proven techniques tested on demanding trail conditions — helping riders avoid expensive drivetrain damage through simple habit corrections.
Conclusion
All seven chain lubrication mistakes share a common theme: small errors that compound into expensive consequences. Lubing a dirty chain, using too much, choosing the wrong type, never cleaning, ignoring depletion, targeting wrong surfaces, and using expired product — each one individually reduces chain life by 20–40%. Combined, they explain why some riders replace drivetrains every 800 miles while others reach 3,000+ on the same trails.
Fix these mistakes starting with your next ride. Clean first, then lube. One drop per roller. Wipe the exterior dry. Choose the right type for your conditions. Relube at first noise, not last resort. Target the rollers, not the outside. Replace old product. These corrections cost nothing extra and add under 5 minutes to your routine — saving hundreds annually in premature drivetrain replacement.
Which of these mistakes have you been making — and which fix made the biggest difference for your drivetrain life? Share below.
Frequently Asked Questions
Is it better to over-lube or under-lube?
Under-lube is worse for the chain (unprotected metal wears rapidly), but over-lube is worse for the overall drivetrain (attracts contamination to cassette, pulleys, and chainring). The correct answer is neither — apply the right amount (one drop per roller, wipe excess). If forced to choose, slight under-lubing causes less total system damage than gross over-lubing in dusty conditions.
Can I use cooking oil as emergency chain lube?
In a true emergency with no other option, cooking oil provides temporary lubrication that is better than metal-on-metal contact. However, it attracts maximum dust, goes rancid, and must be fully degreased before applying proper lube. Use only as absolute last resort for getting home, then immediately clean and properly lube the chain.
Does the color of chain lube residue tell me anything?
Yes. Clean golden/clear residue = normal wet lube operation. Black residue = metal wear particles mixed in (indicates inadequate cleaning between applications). Grey gritty residue = environmental contamination embedded in lube. Red/brown residue = rust formation under lube (moisture penetrating). Each color indicates a specific maintenance failure to address.
Should I lube my chain after washing my bike?
Always. Bike washing (especially with degreaser or pressure washer) strips existing chain lube. Even water-only washing displaces lubricant from inside rollers. Dry the chain thoroughly after washing, then apply fresh lube before the next ride. Never store a washed bike without relubing the chain — corrosion begins within hours on bare steel.
How do I know if my lube is still working between applications?
The finger test: press your finger against the chain and slowly backpedal one revolution. If your finger slides smoothly with slight resistance, lube is present. If you feel grit, roughness, or catching, lube has depleted or contamination has overwhelmed it. Also listen: a properly lubed chain under load should produce minimal sound.
Is spray lube acceptable for mountain bike chains?
Spray lubes (aerosol cans) are acceptable for emergency or convenience use but deliver inferior results to drip application. Spray cannot precisely target the roller interior — most spray hits external surfaces where it serves no purpose and attracts dust. Spray also tends to contaminate brake surfaces, wheel rims, and frame finishes. Drip application provides better targeting, less waste, and superior protection per application.
Do quick-link chains need lube at the master link?
Yes — the master link contains the same pin-to-plate interface as every other link and experiences the same wear forces. Apply lube to the master link roller just as you would any other link. Some riders skip the master link thinking it is different — it is not, and unlubricated master links can seize or wear prematurely, making future chain removal difficult.